His & Hers Wooden Ring Boxes and some other designs
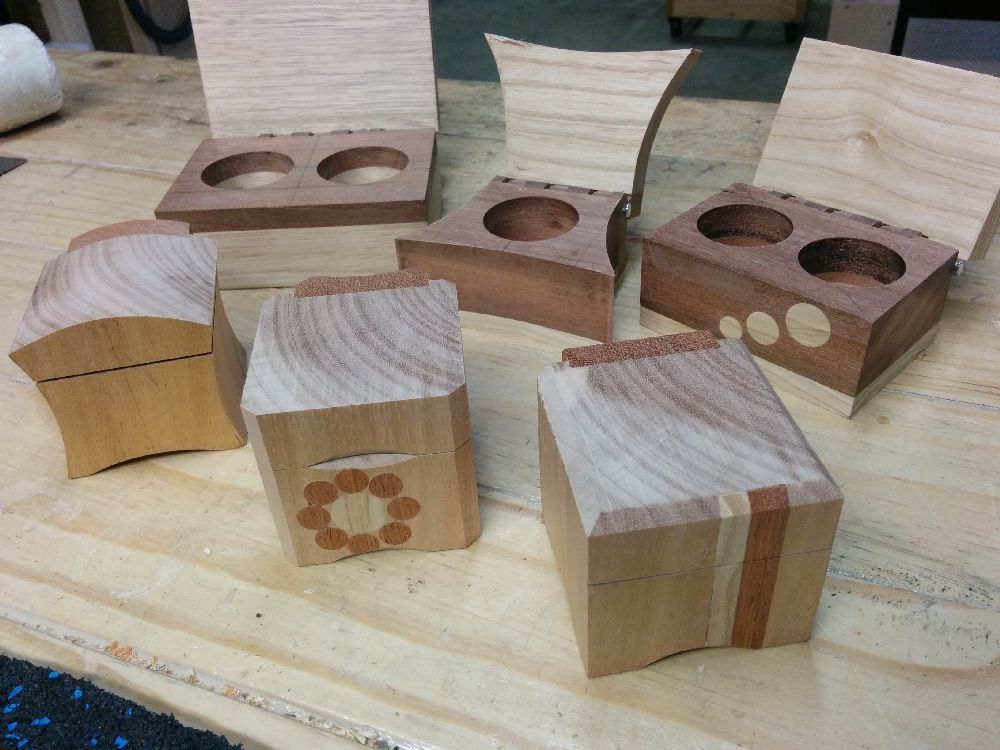
I wanted to design some ‘his & hers wooden ring boxes’ with two separate cavities for storing rings in. I had some reclaimed pieces of Red Ironbark from an old sixty year old house which I thought would look good and I had some pieces of White Ash and Mountain Ash lying around as well, so I decided to incorporate all these woods together to make three ring boxes, two of which were ‘his & hers’ ring boxes.
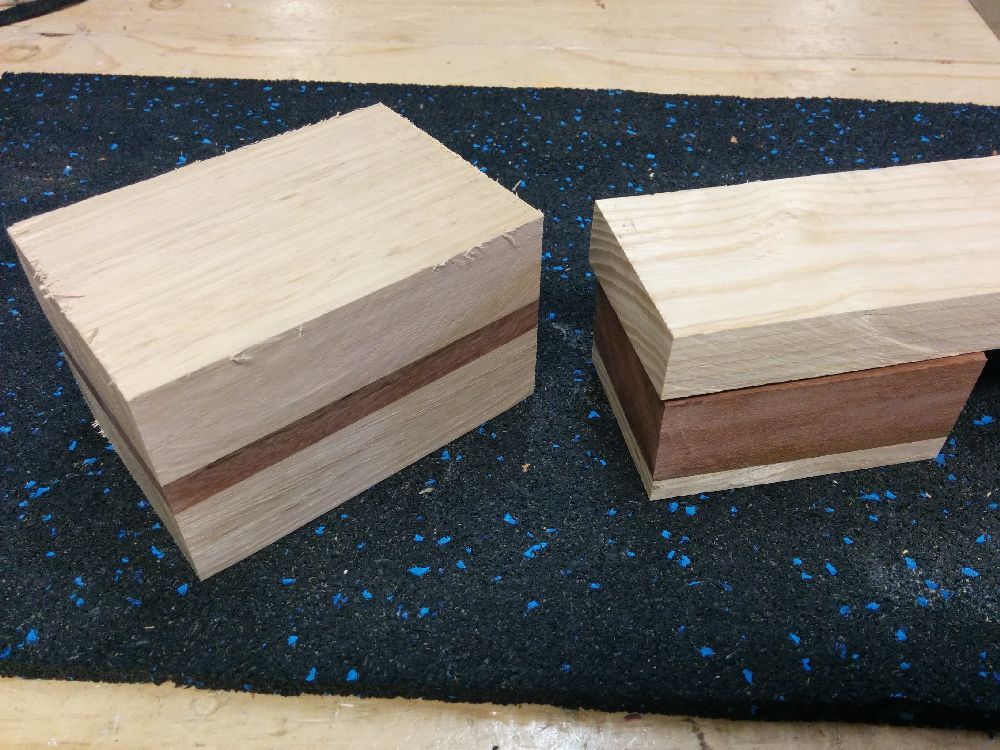
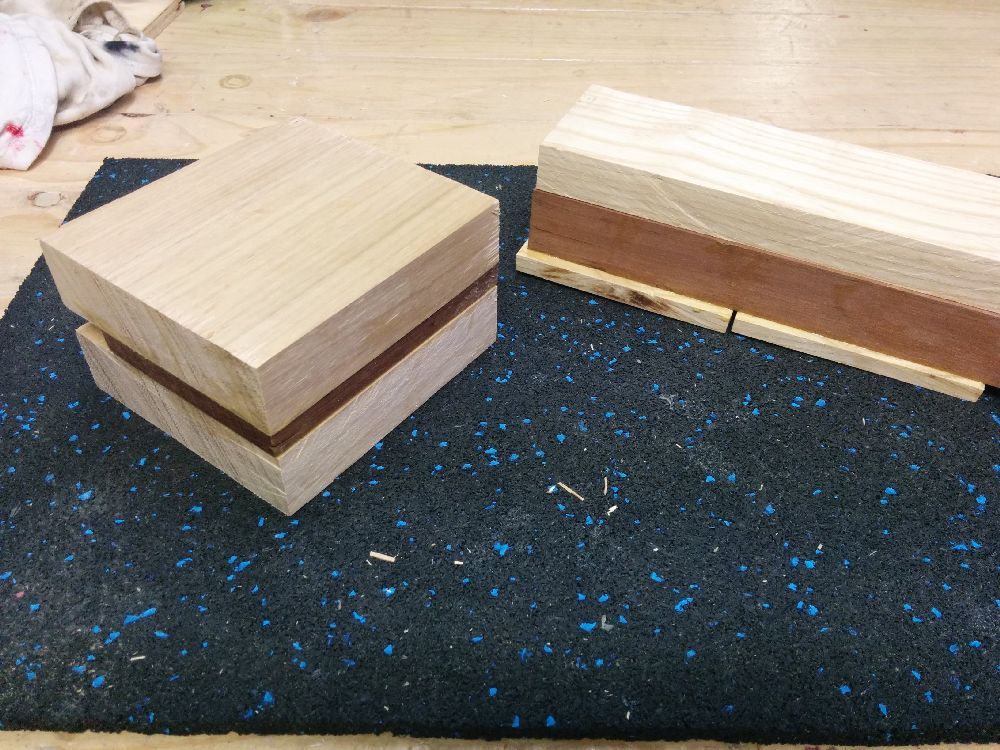
I started out by rough cutting the lumber to the approximate measurements and I laminated the Red Ironbark to the Mountain Ash for one box and to the White Ash for the other two boxes.
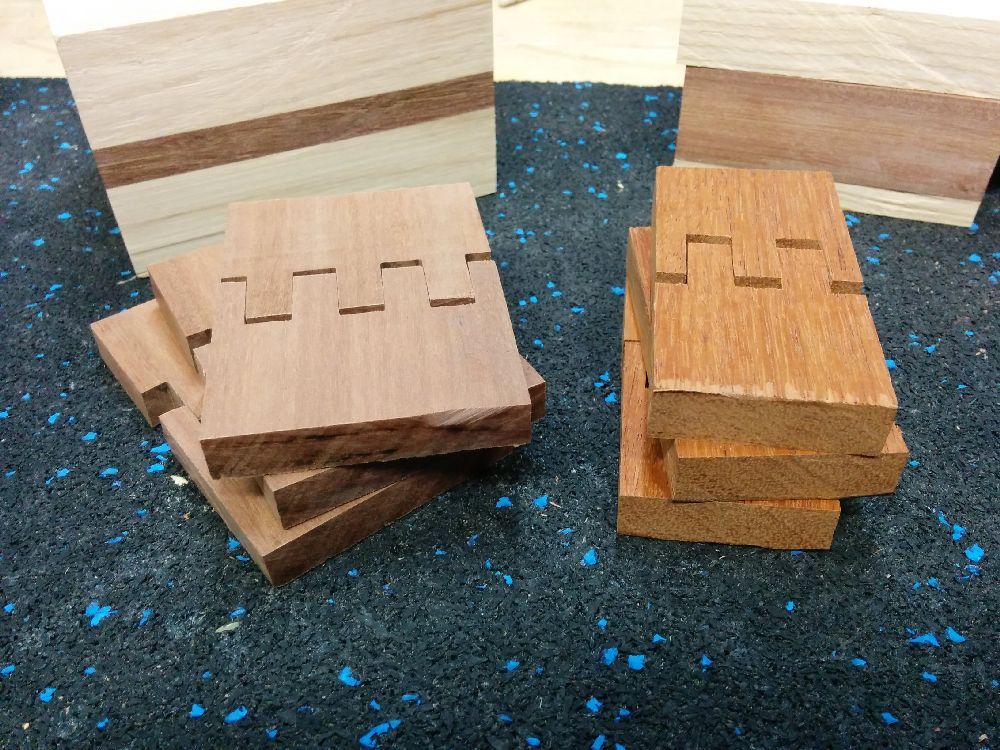
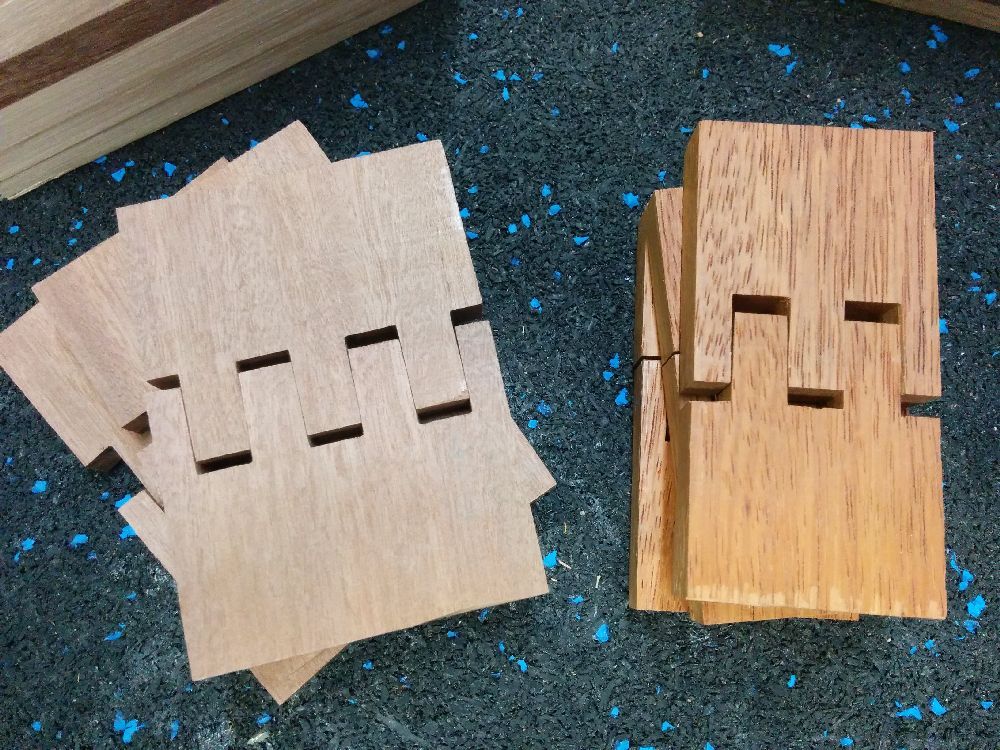
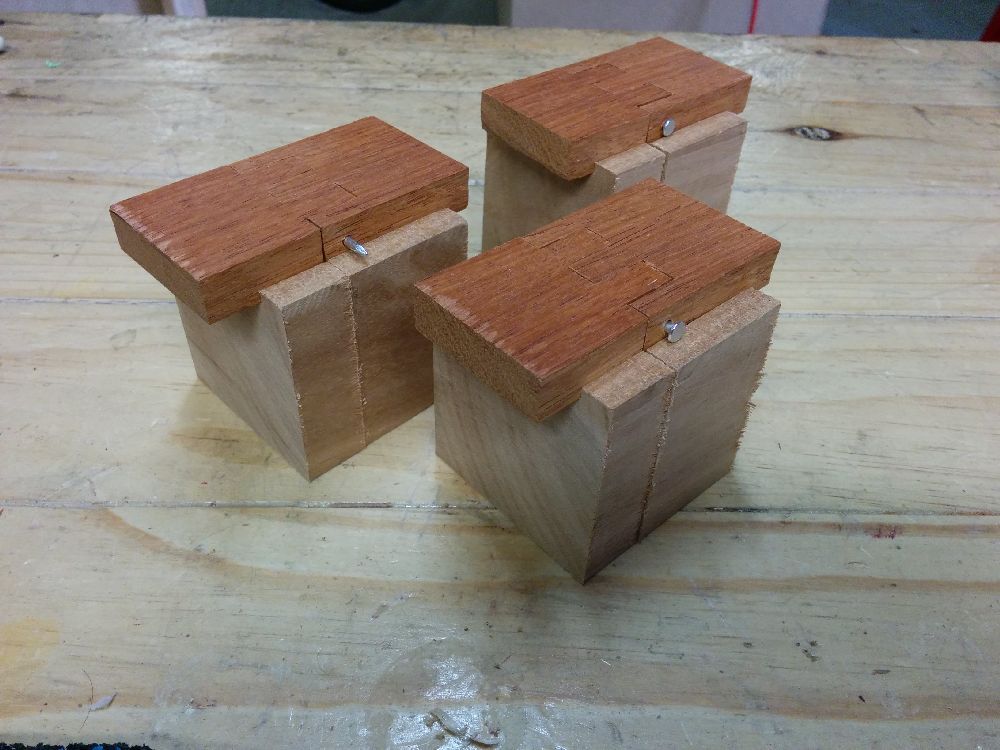
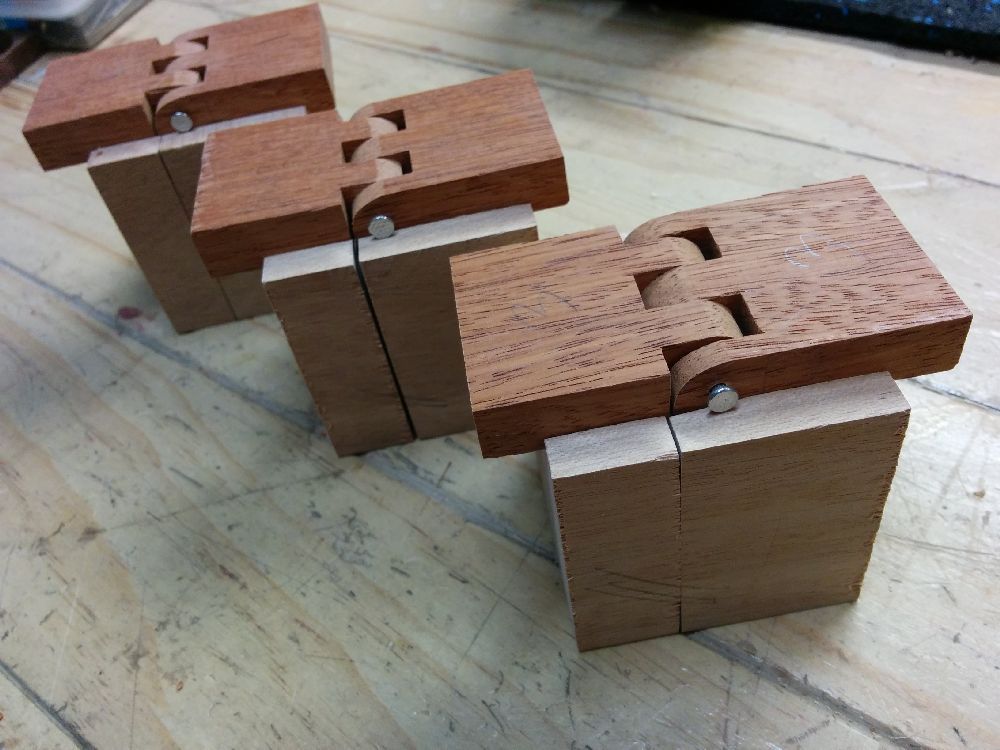
Next I needed to make the wooden hinges. Since these three ring boxes were larger than the usual ‘cube style’ ring boxes that I make, the wooden hinges also had to be larger or else they would look disproportionate. I have a home-made router jig and table saw jig which I use to make my hinges so that I always get the same results, however I had never used it to make ‘larger’ hinges. After some test cuts it seemed that my jig could handle the larger hinges without issues so I went ahead and made three large hinges from Red Ironbark and another three smaller hinges from African Quassia which will be used later for my other ‘cube style’ ring boxes.
Since the glue on the Ash and Ironbark was still drying I decided to cut three cubes out of a piece of Queensland Maple I had lying around. These cubes would become three small ring boxes which I wanted to experiment with some new designs on. I cut the groove in the back of each cube at my router table and tested the fit of the new hinges I had just made. Once the fit was fine-tuned I rounded over the fingers on each hinge until they were able to pivot without any obstructions.
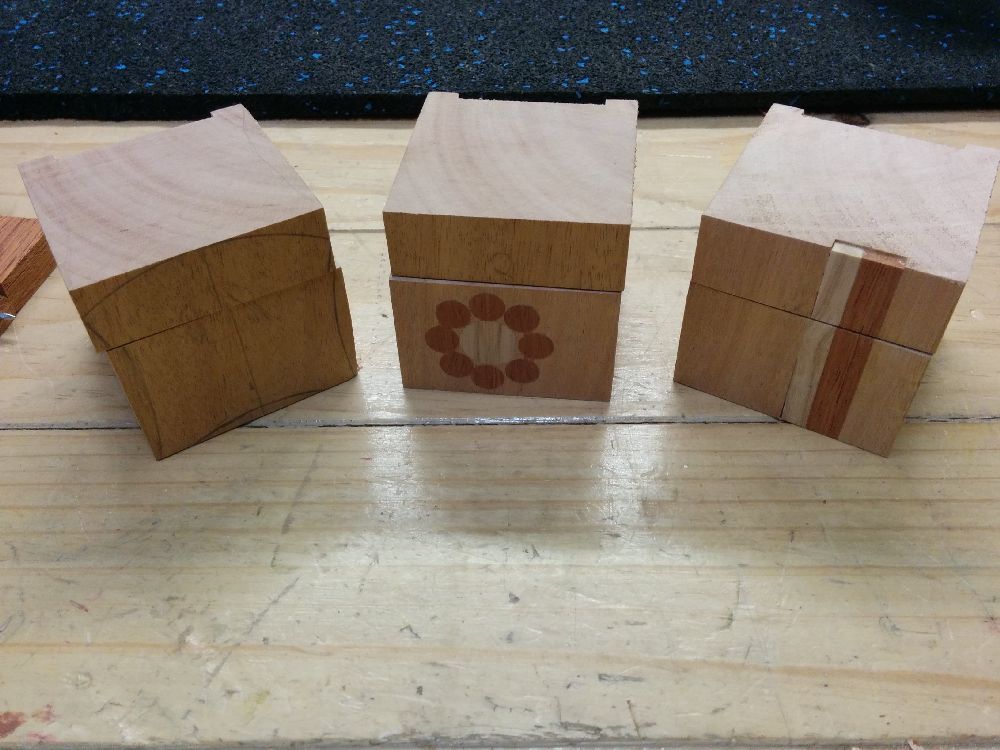
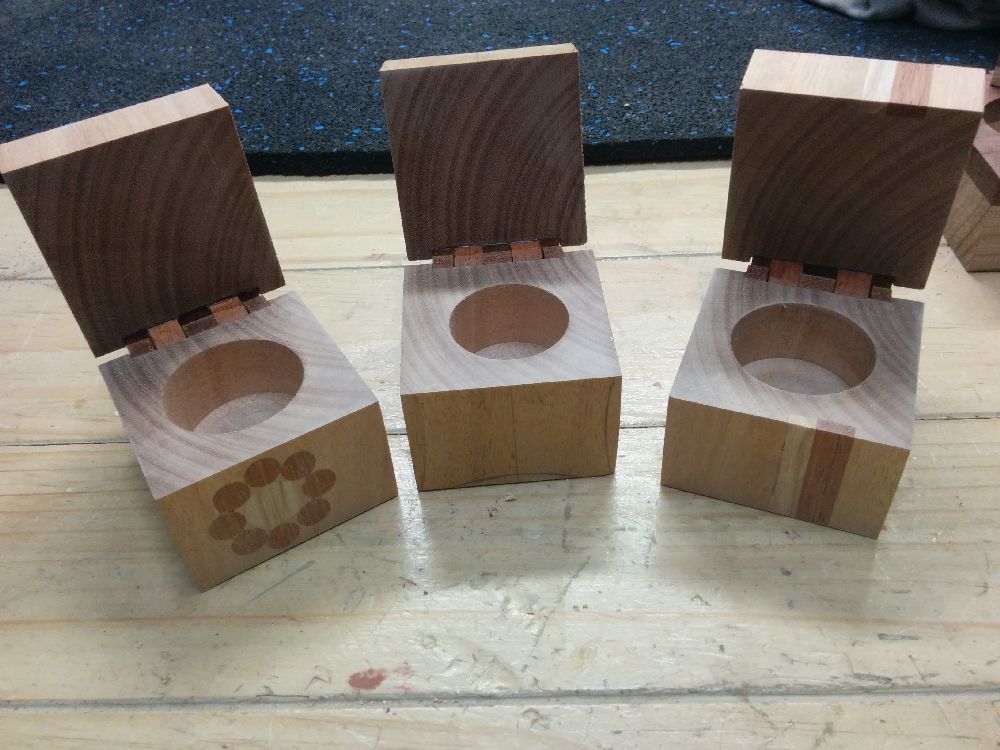
The glue-up of the larger ring boxes still needed a bit more to dry so I started looking into what designs I could come up with for the three small Queensland Maple ring boxes. For the first of the three boxes I went with a curvy style which I shaped on my bandsaw and cleaned up at my Triton TSP S450 Spindle Sander. For the second box I decided to glue a stripe into the front face of the box. The stripe was a lamination of White Ash and African Quassia, and I cut a groove into the front of the box and glued the laminated stripe in. For the third box, my wife suggested a flower design of some sort, so I used plug cutters to cut small wooden plugs which will form the petals and centre of the flower. The petals were African Quassia and the centre was White Ash.
By now the glue on the larger ring boxes had dried so I attached the hinges and moved on to sanding. Sanding is a big part of making these boxes because the end grain of the wood is very hard and requires a lot of sanding to smoothen out and get a clear finish. The small ring boxes actually require much more sanding than the larger ones because of the orientation of the end grain. With the large boxes the end grain is on the sides, but with the small ring boxes the end grain is on the top and bottom as well as on the inside of the box, so each small box has four faces of end grain as opposed to the larger boxes with only two faces of end grain.
After a few hours of sanding and two coats of Watco Danish Oil, this batch of six ring boxes was finally finished.
For more pictures of the finished ring boxes check out the photo galleries here and here.



Beautiful work! Do you sell hinges made from wood for small boxes such as a jewelry box?
Thanks Gary! Unfortunately though I don’t sell wooden hinges.