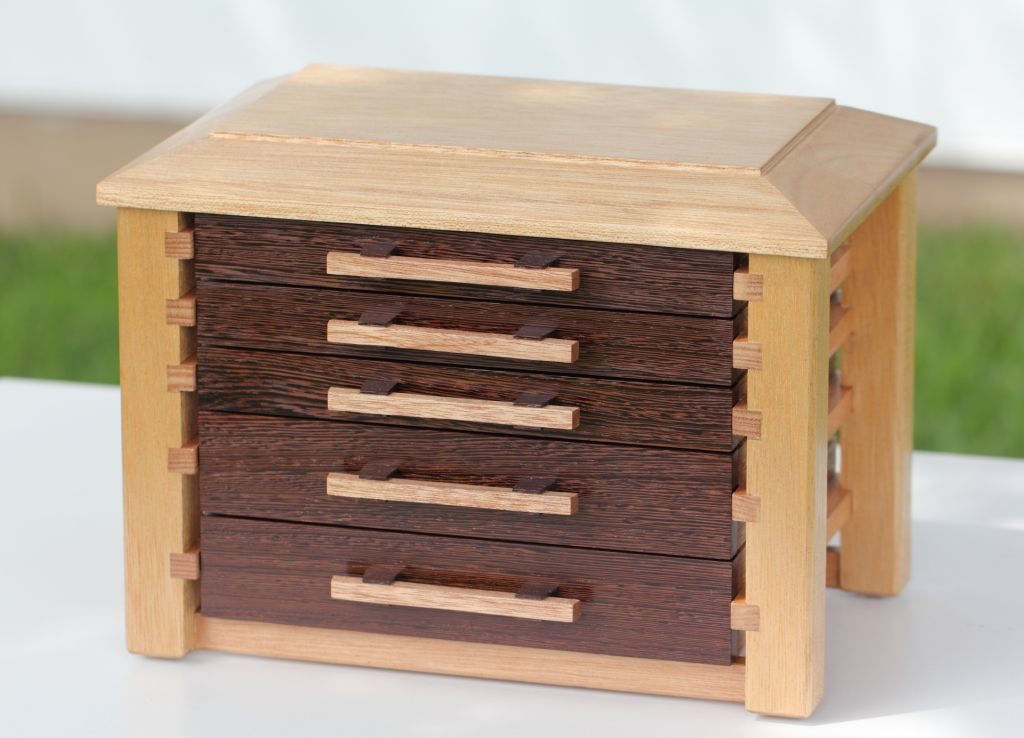
A Jewellery Box with five drawers
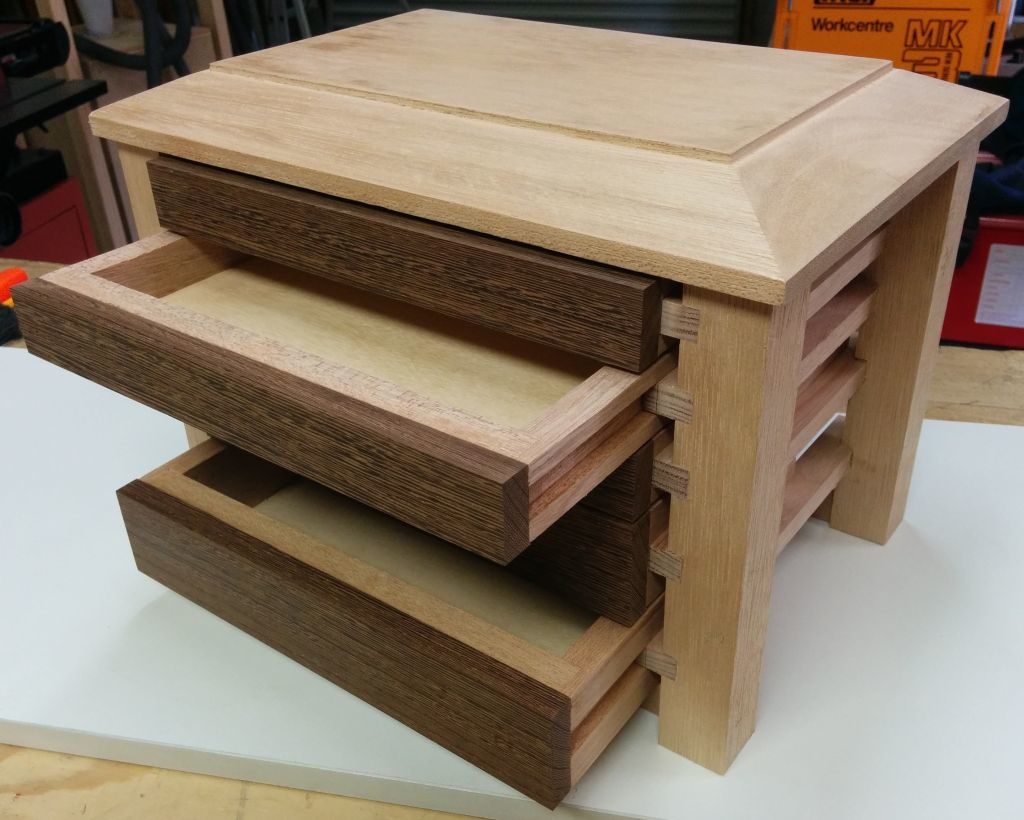
I wanted to experiment with a different style of jewellery box from what I usually make. The box was to have drawers instead of a lid, and I wanted to do something different with the outside frame. I remember seeing a jewellery box with an open frame on a website somewhere, and I decided to do something similar to that.
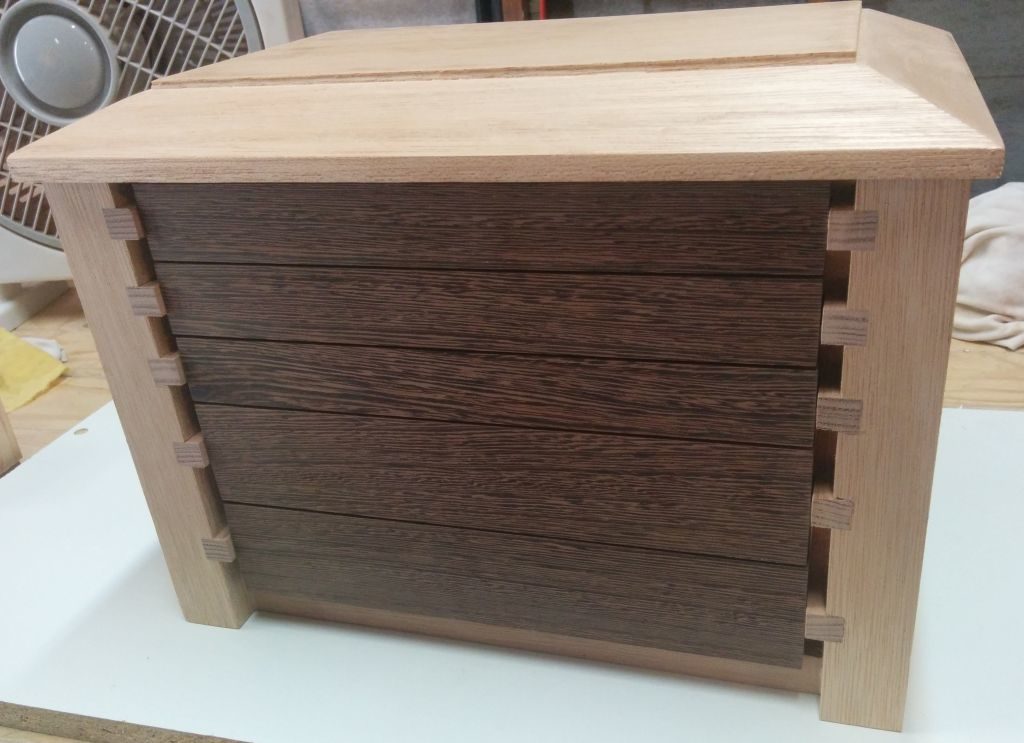
I had some thick pieces of reclaimed meranti which I would use to make the drawer carcasses, the jewellery box frame and top. For the drawer faces I would use a piece of wenge because its darker colour would create a nice look against the blonde meranti, and I already had a good piece on hand.
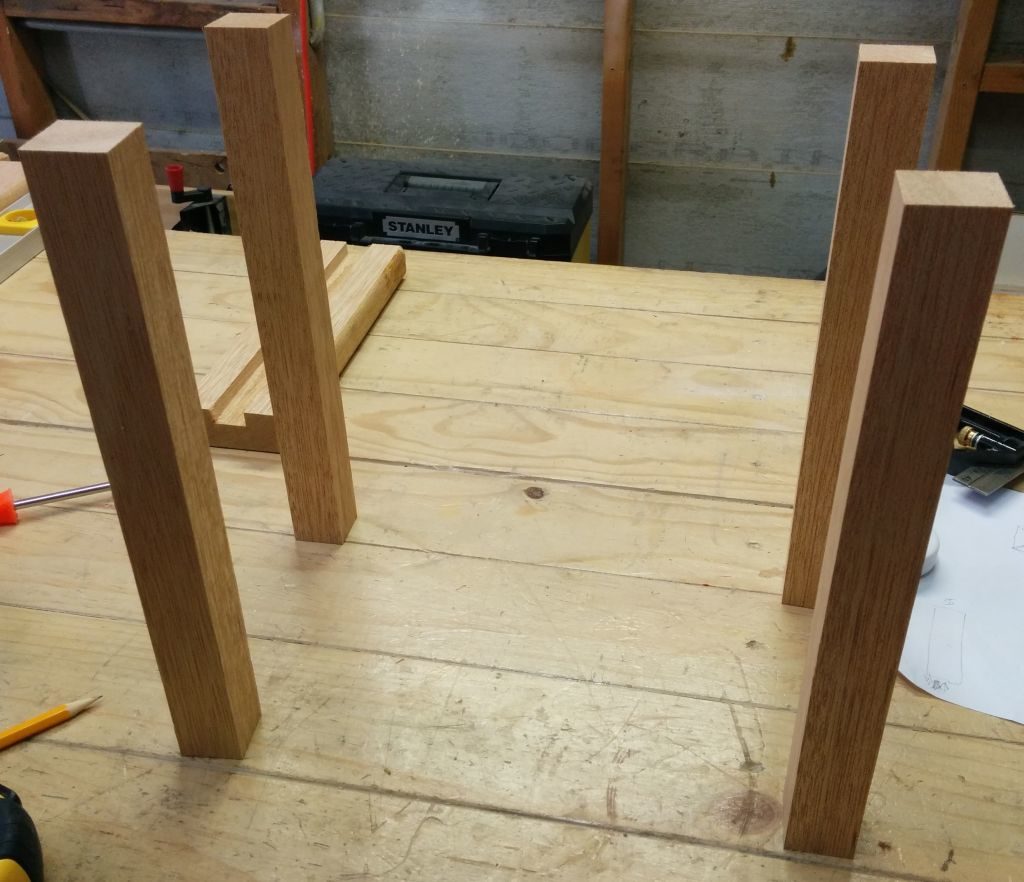
I started by reserving a piece of the meranti for the lid of the jewellery box, and based on the size of that piece I could figure out rough dimensions for the rest of the box. I wasn’t sure how tall the box would be, so when making the legs I left them longer than required and I would cut them down at a later stage.
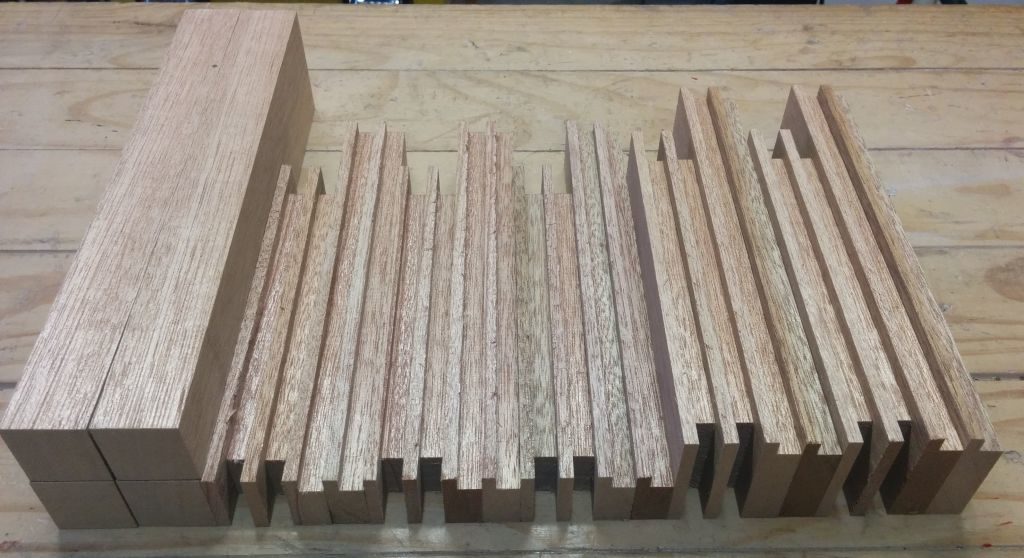
Next I cut the parts which would make up the five drawers and I routed the rebates which would accept the drawer bases. I then did a quick dry assembly of the drawers to get a feel for the size of the box. I had no plans or measurements for this project, so I was working off what I thought looked good at the time.
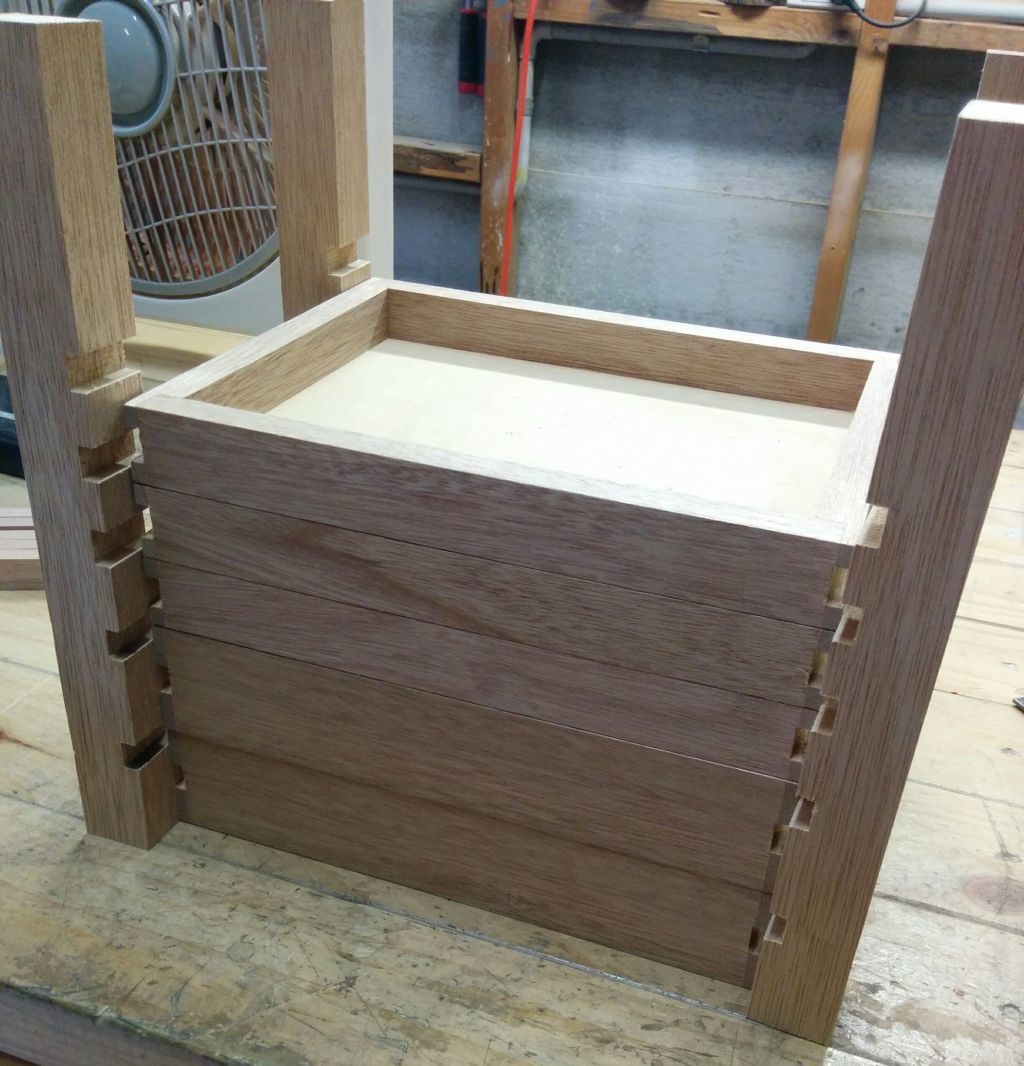
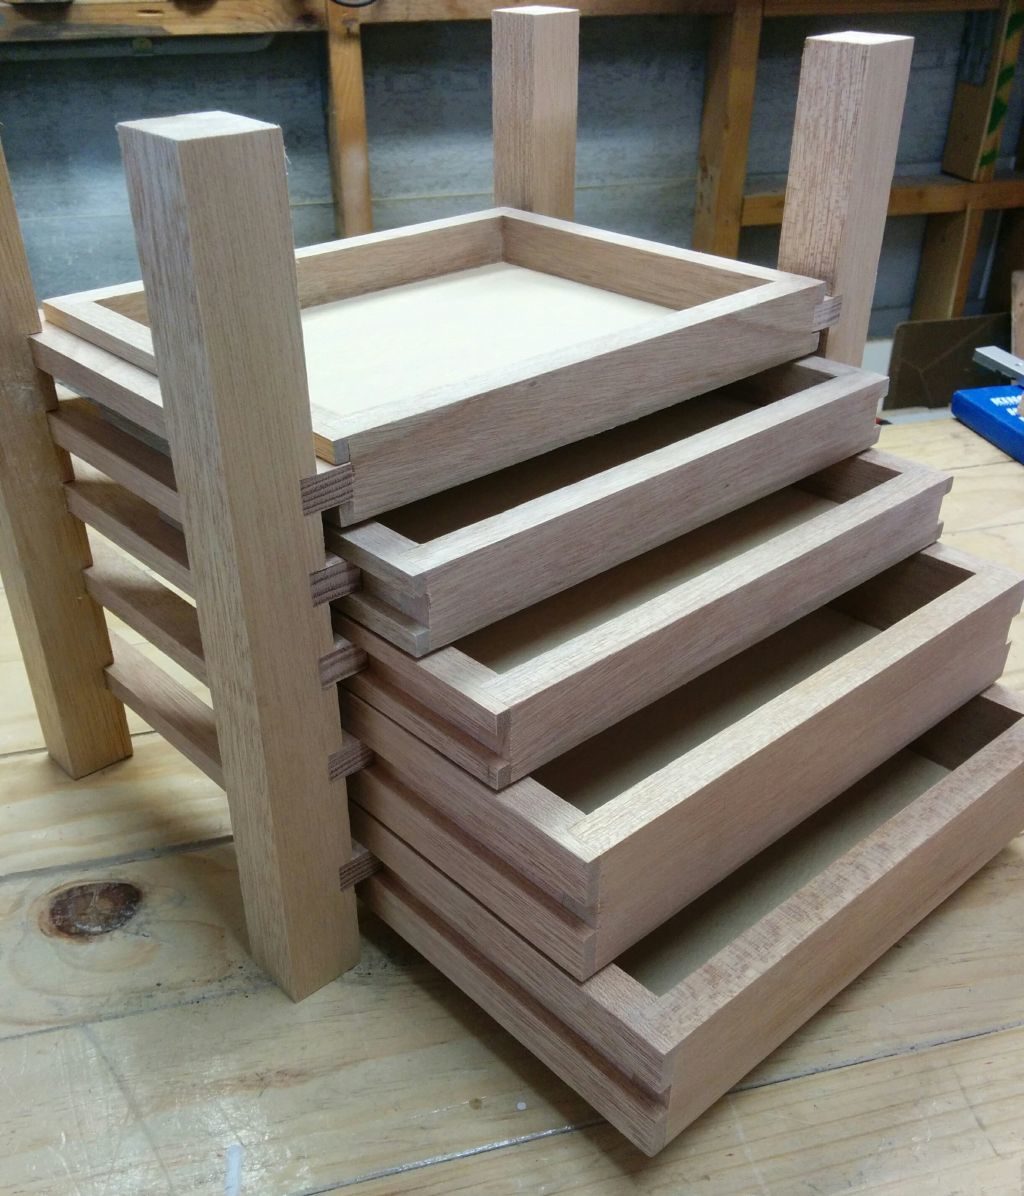
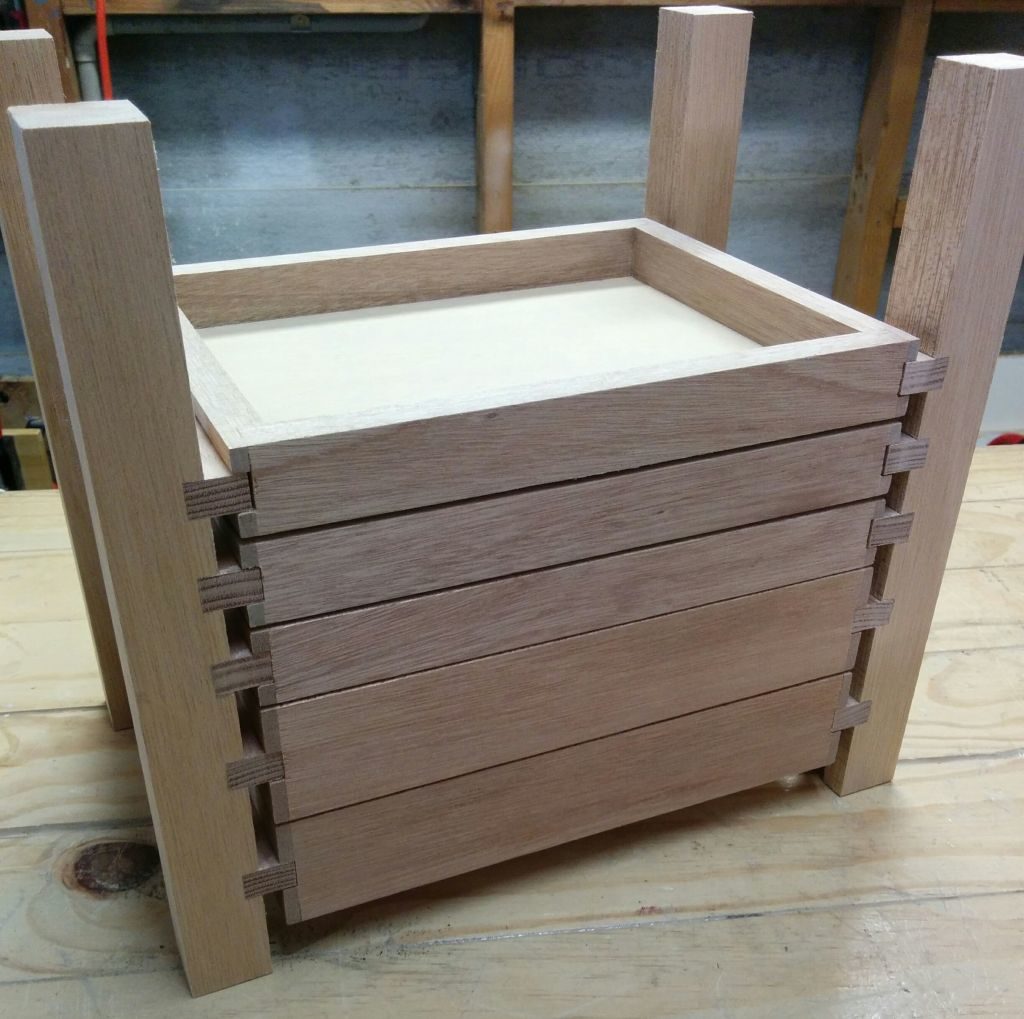
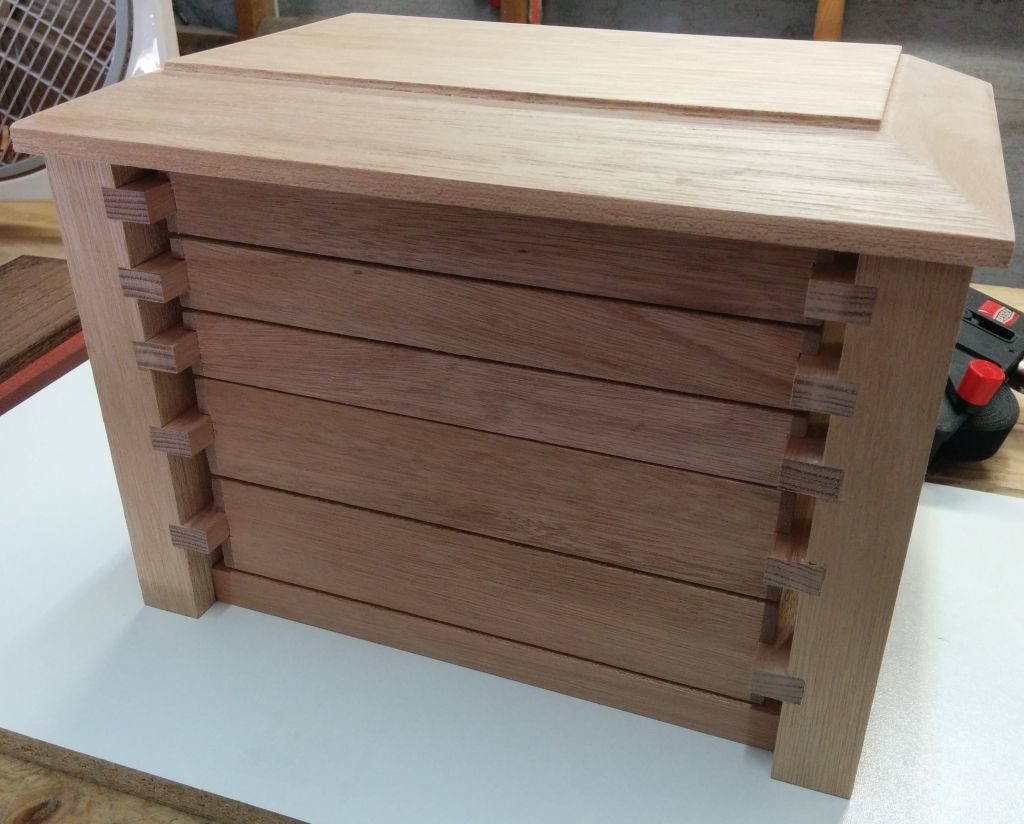
The next step was to glue up the drawers and then figure out the exact spacing between each drawer so that I could cut out the grooves in the legs which would accept the drawer rails. This was actually quite tricky to get right and I made sure to take my time measuring and double checking everything before making the actual cuts.
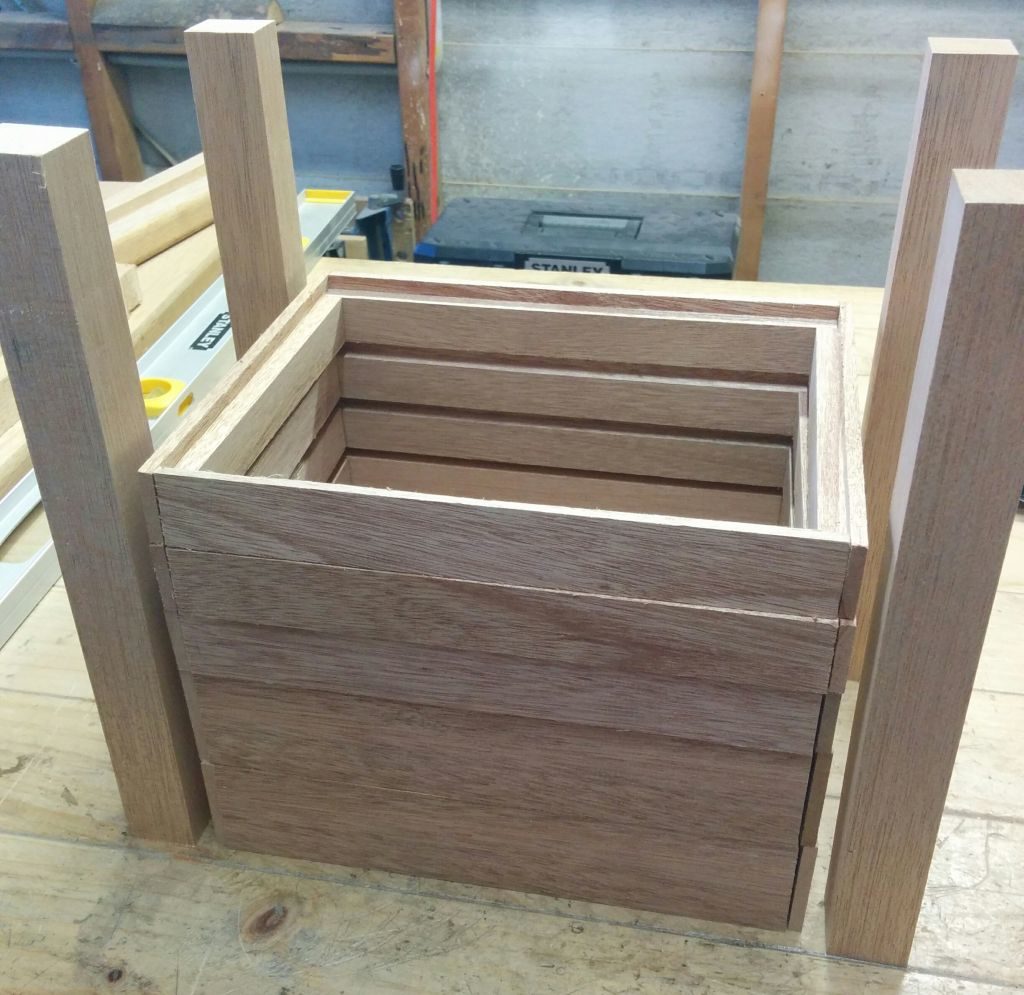
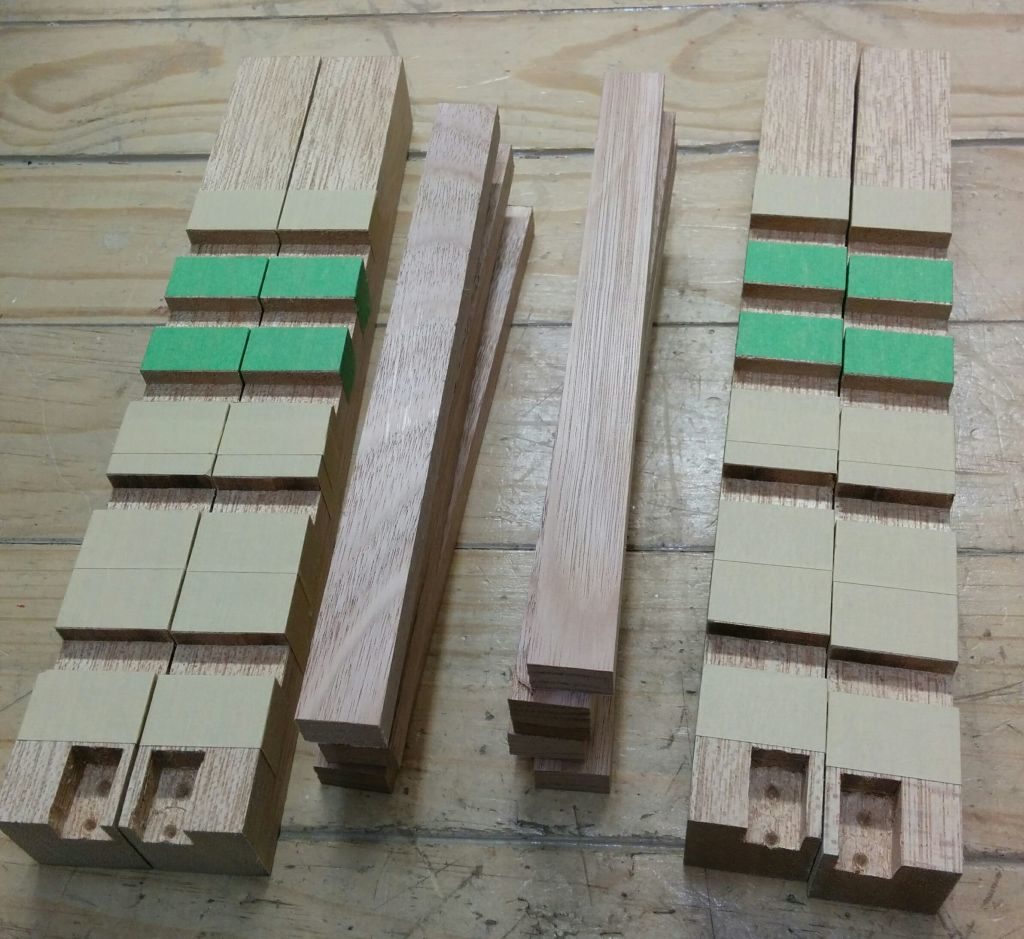
Once I had the slots cut in all four legs I could prepare to glue in the drawer rails. I used masking tape to prevent the glue squeeze-out from getting on the wood between the rails because I knew it would be difficult to clean it out from there, and since meranti is so open-grained and porous I didn’t want the glue to get in the pores and affect the way the finish looks at the end. Once the runners were glued in I assembled everything together to get another look at the progress.
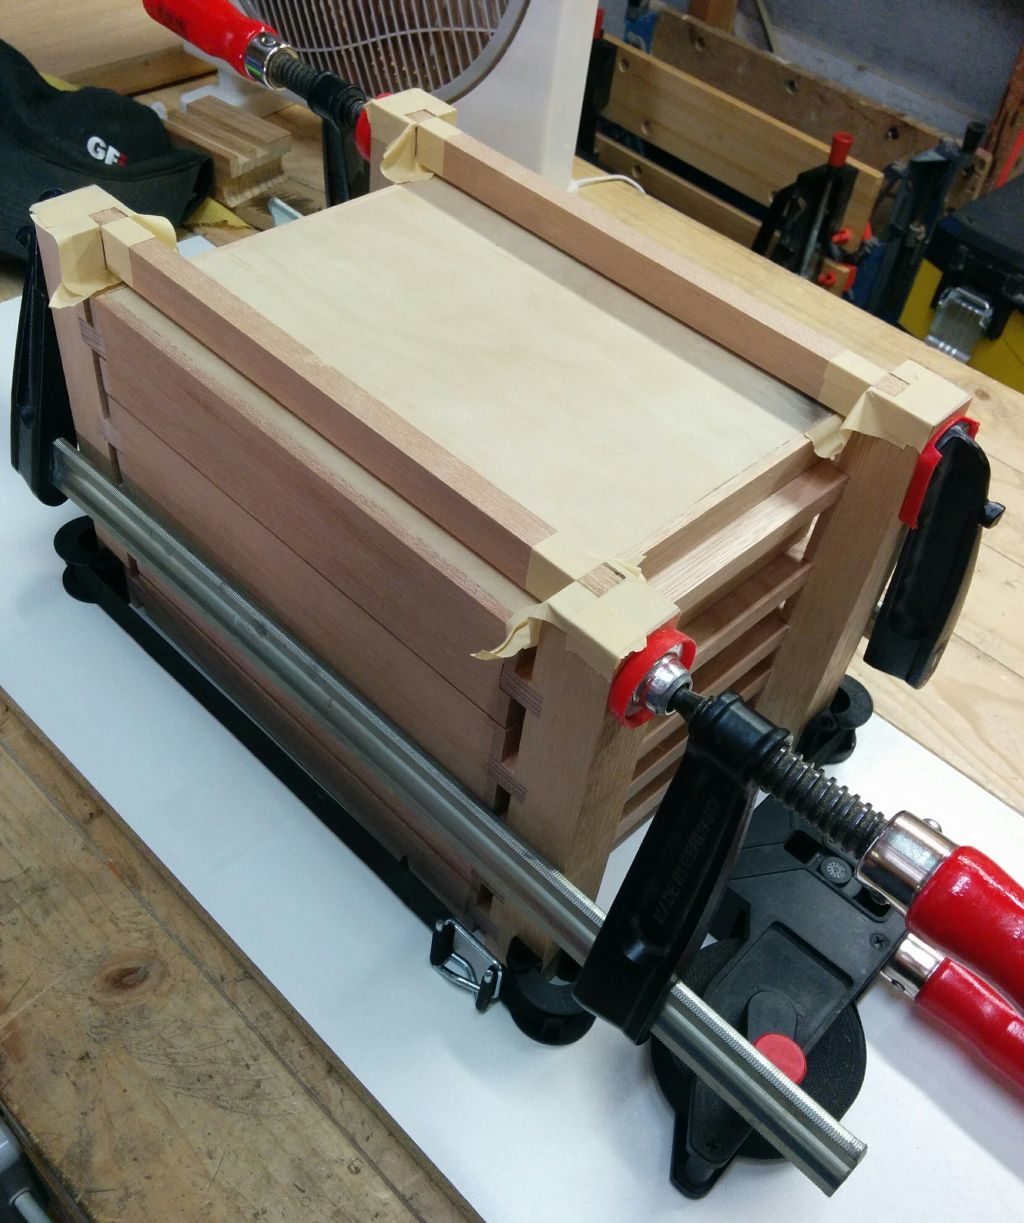
Now at this stage there was nothing keeping the box sides from spreading apart at the base. They would be attached to the top via dowels but I was worried that attaching them only at the top would be too weak and the bottom drawer would be able to wobble around on its rails. So I decided to add some horizontal rails joining the two sides together under the bottom drawer. I used masking tape again to prevent the glue squeeze-out from staining the wood. Once the glue dried I then cut the four legs to the correct height and attached the top.
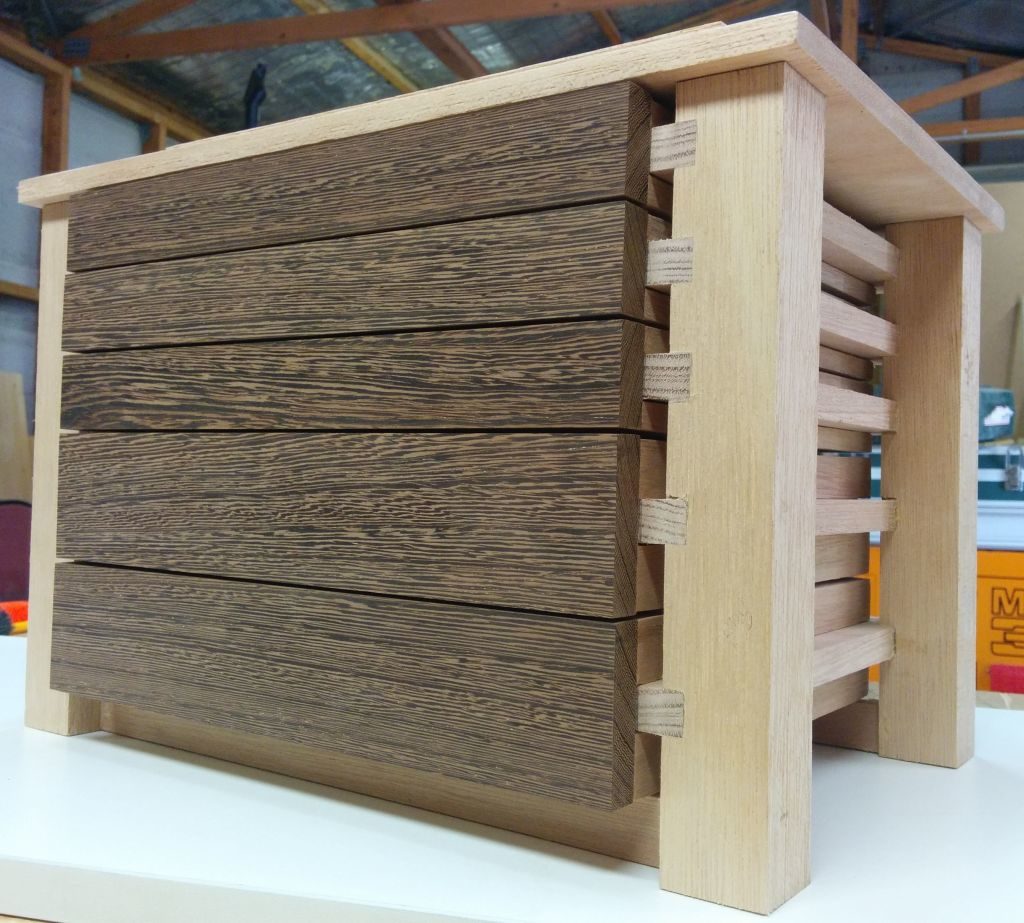
The next step was to attach the drawer faces to each of the five drawers. I only had just enough wenge to make the drawer faces so I knew I had to get this right the first time because I couldn’t go back if I made a mistake gluing them on. I glued the drawer faces on one by one from top to bottom making sure the space between each drawer face is equal and straight. This was quite fiddly but it turned out good in the end. Then once the faces were all attached I notched out a bit of each drawer slider so that the drawer face can close slightly recessed into the jewellery box frame.
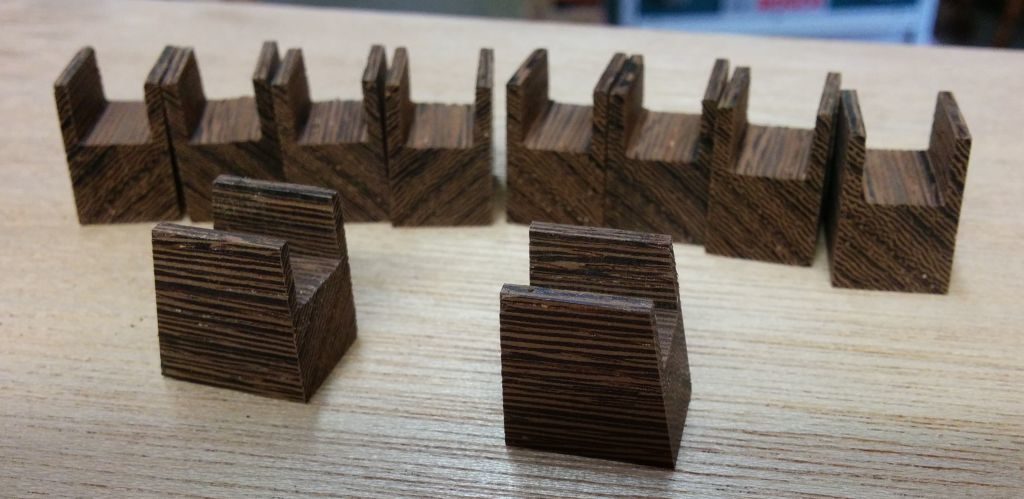
The final stage of construction was to make the drawer handles. I used meranti for the handles and wenge for the handle supports.
Since the meranti is so porous I decided to use a sanding sealer so fill the pores in and make everything feel silky smooth. The jewellery box was then finished with a few coats of Danish oil on the insides, wipe on poly on the exterior, and wax on the drawer sliders so that the drawers would slide smoothly.
For more pictures of the finished jewellery box check out the photo gallery.

