Wooden Toy Cars
When I was a young child I remember playing for hours on end with a wooden car my dad made me for my birthday. It was a simple toy which I loved dearly, however it wasn’t without flaws. Firstly, it didn’t really resemble a real car, and secondly, since dad used whatever he had on hand to build it, there were some small issues like wheels jamming up because the screw holding them in place rusted over time, and the paint he used on it was more than likely not child safe – this was the 1980’s after all.
Now since I got into woodwork, I’ve been meaning to build some wooden toy cars with the hope of bringing joy to some little kid somewhere, however this time I was going to use child-safe paint and no metal parts on the car at all.
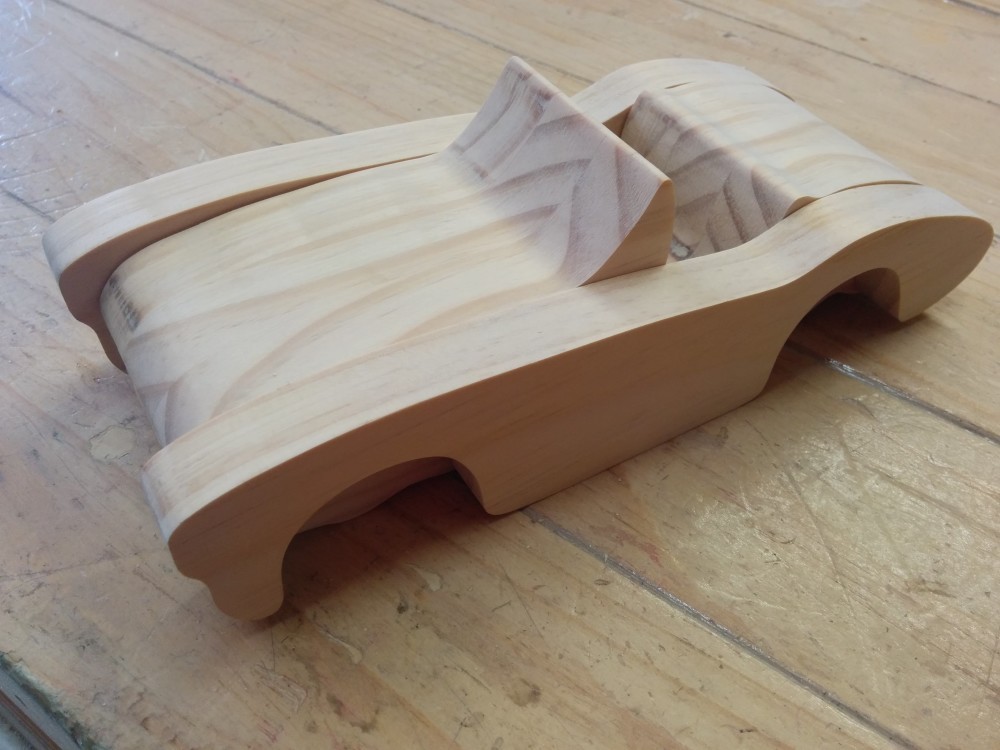
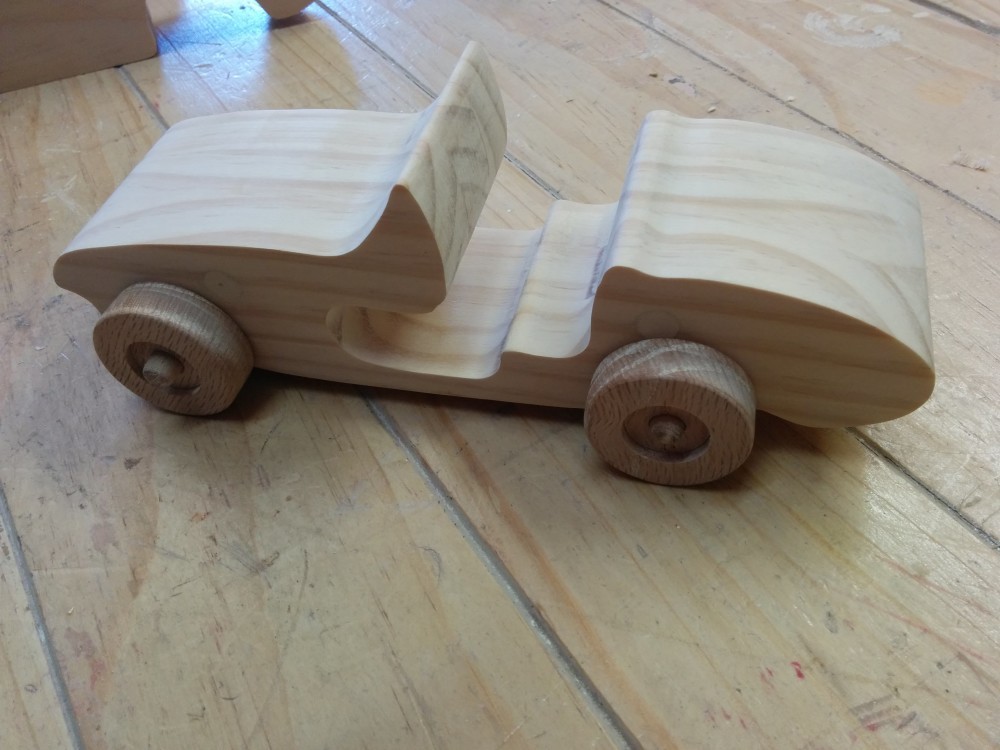
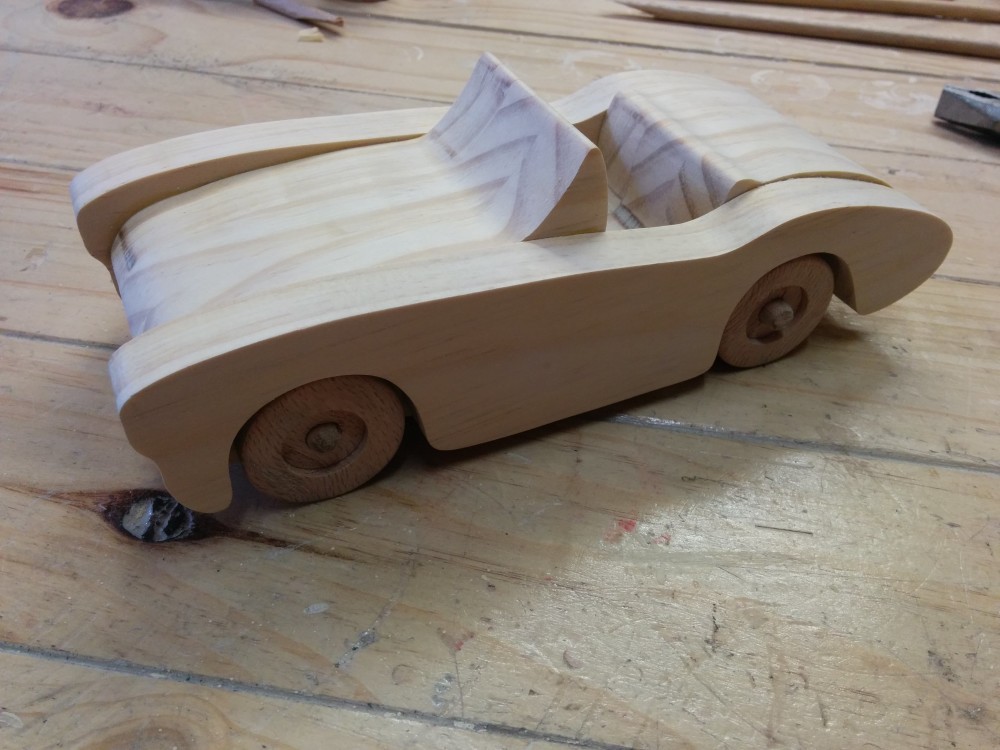
So I did some research and came across a website which sells plans for wooden toys – www.toymakingplans.com, and I found plans for a cool looking 1957 Corvette which I knew I had to get. The plans were quite straight forward and easy to follow, so I got building.
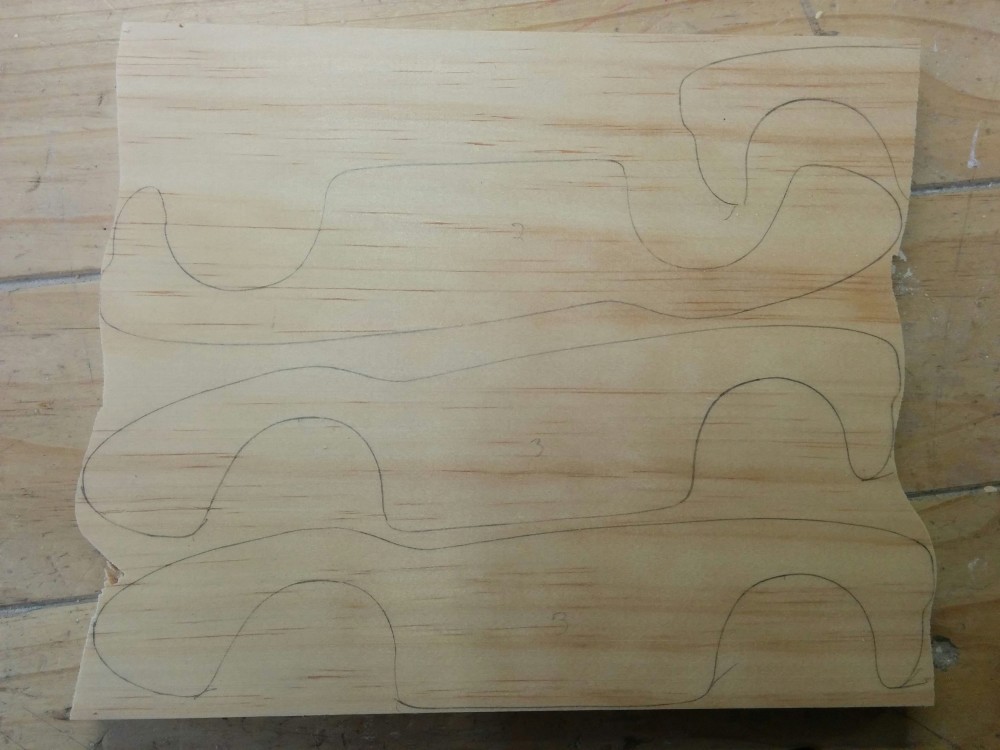
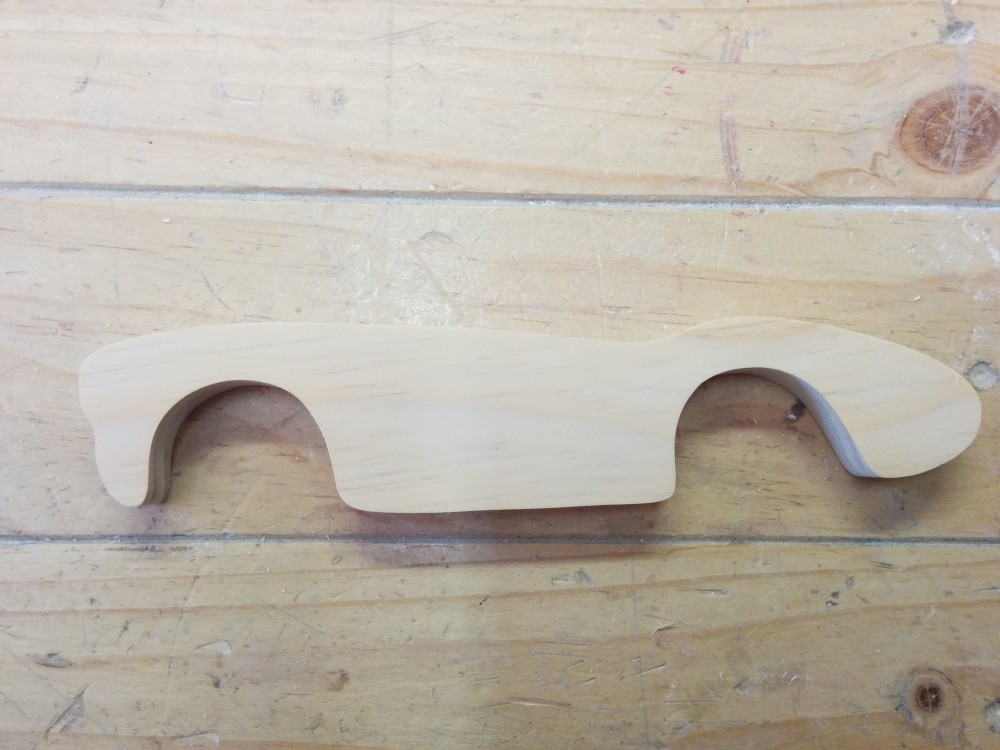
Since I was planning on making a few of these wooden toy cars, I decided to make a template of the required pieces first so that I could use them for tracing the shape and then flush cutting with the router. Once this was done I found a few straight boards of decent looking pine and started laying out the pattern. I then rough cut them at the bandsaw without worrying too much about how close to the line I was. I was going to be using my router flush cut bit to clean them up later.
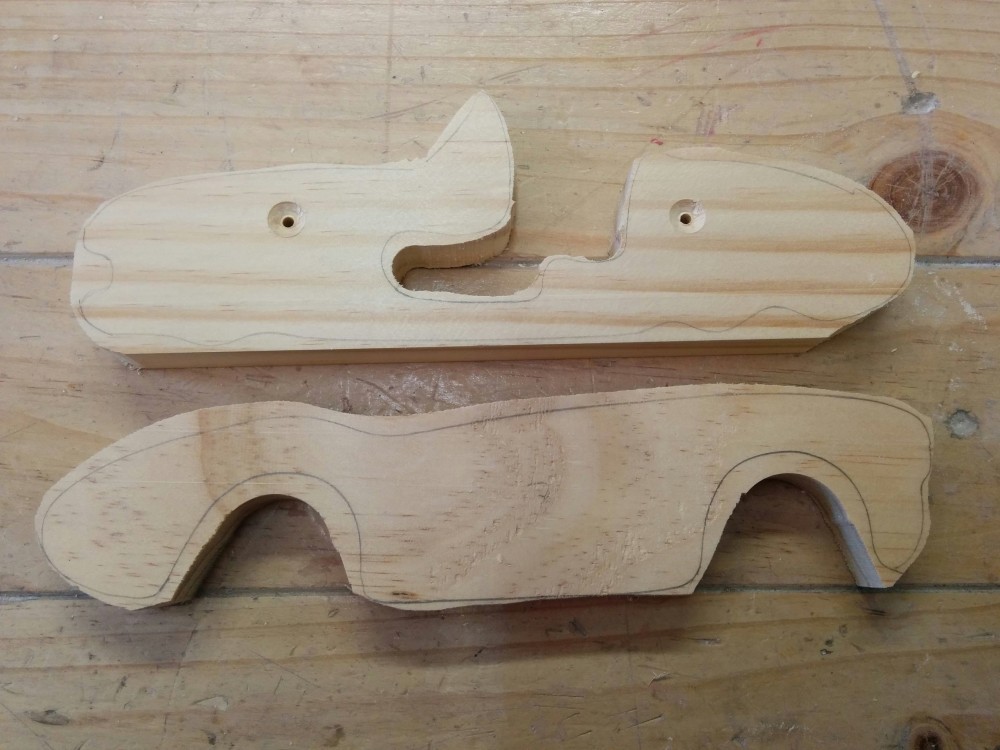
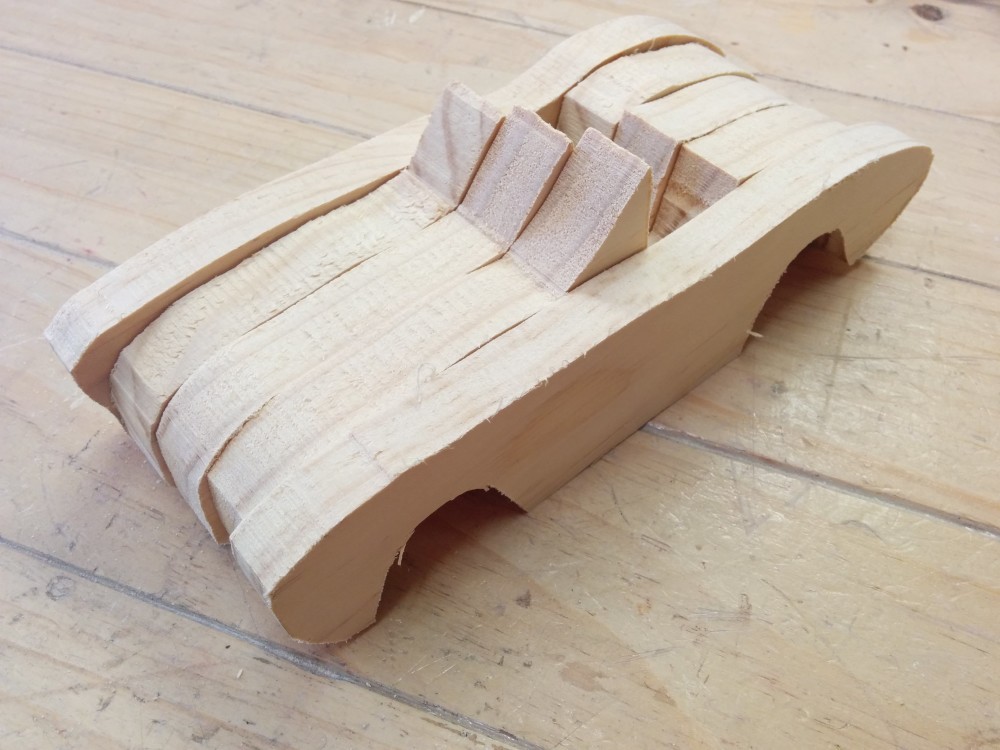
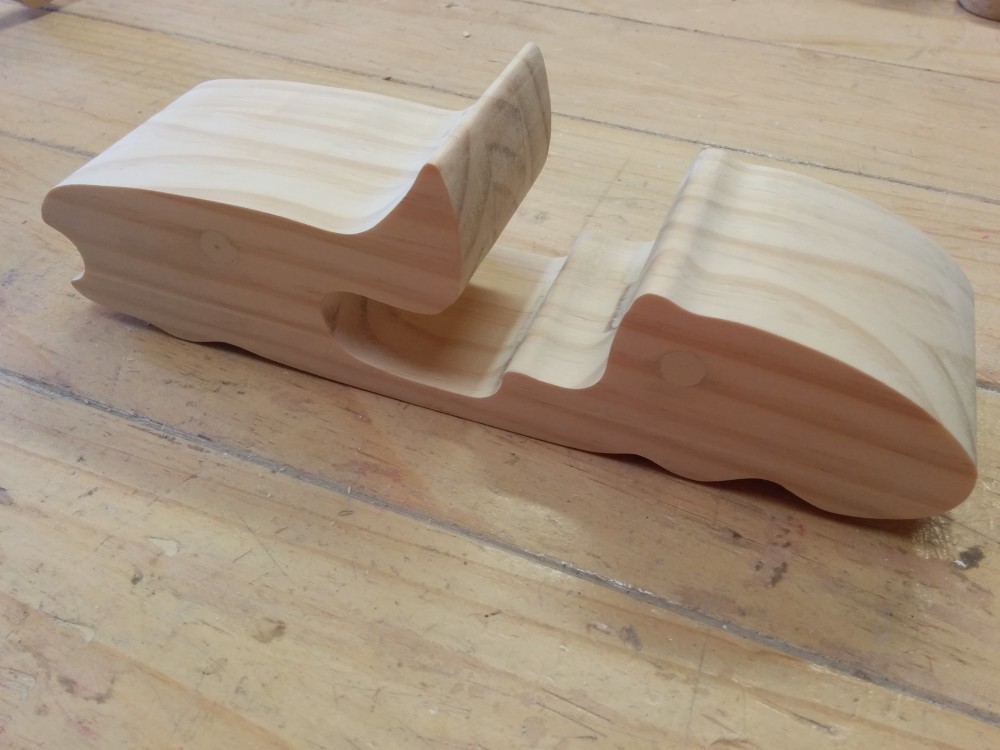
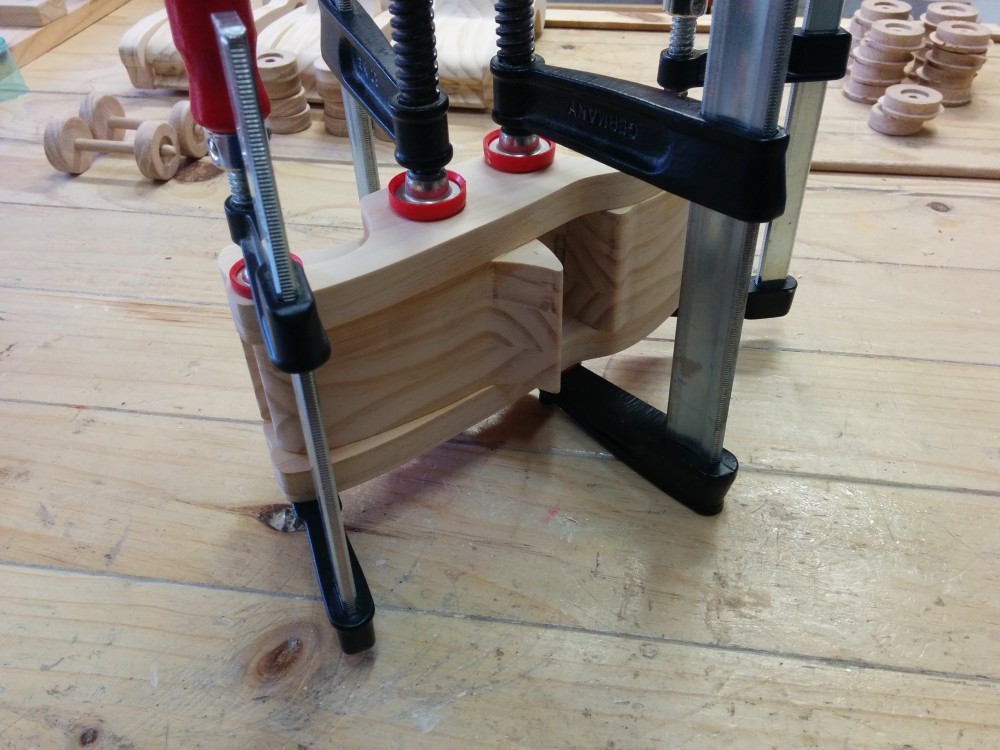
The car was built by layering identical cuts together, so in my case I decided to go with three pieces of 18mm thick pine for the middle of the car, and 2 pieces of 15mm pine for the sides.
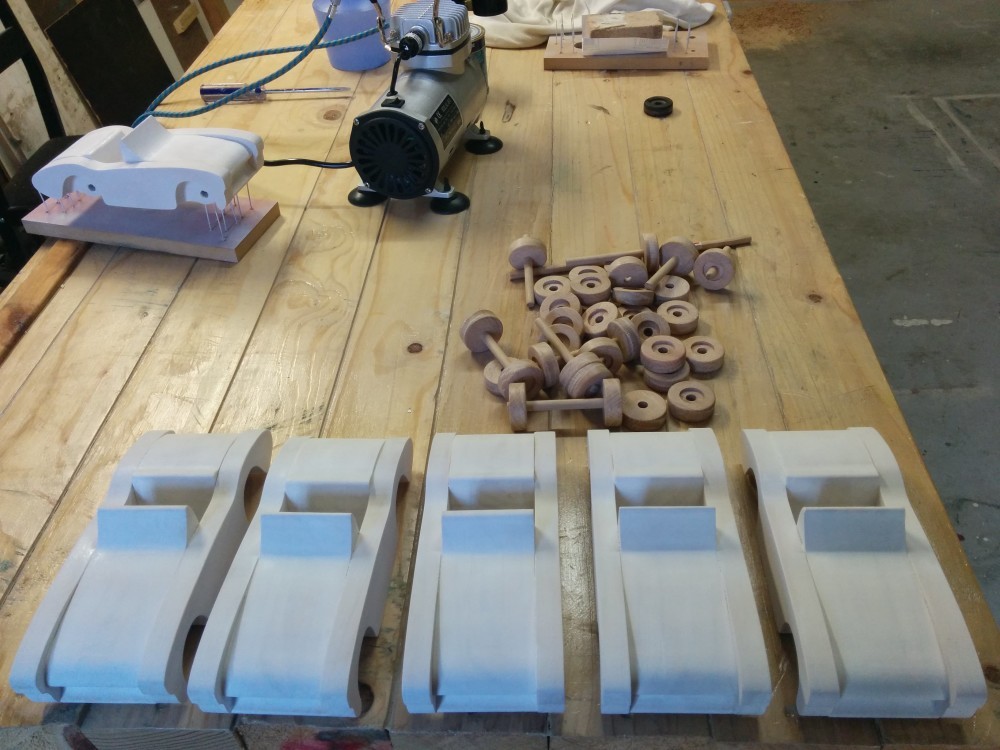
Now that I had all the pieces rough cut I stuck each piece to my template and cleaned up the edges with the router. This was a dusty job and it took a while too since I was building eight cars at once. However it is still much easier to do it this way than to try and follow the pattern on the bandsaw or scroll saw.
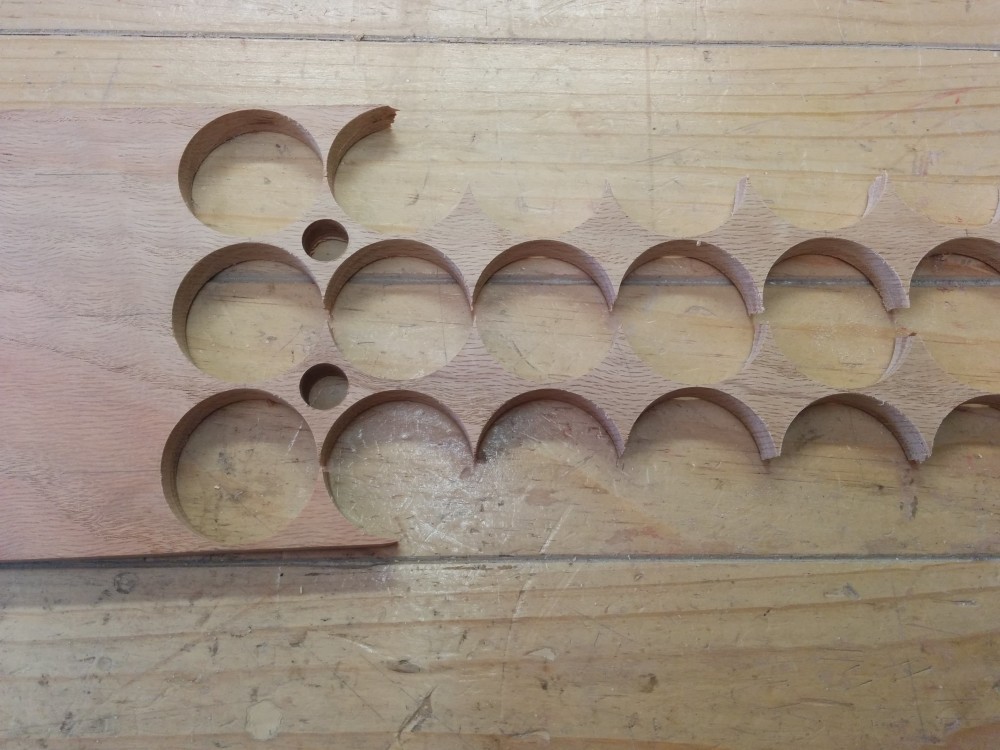
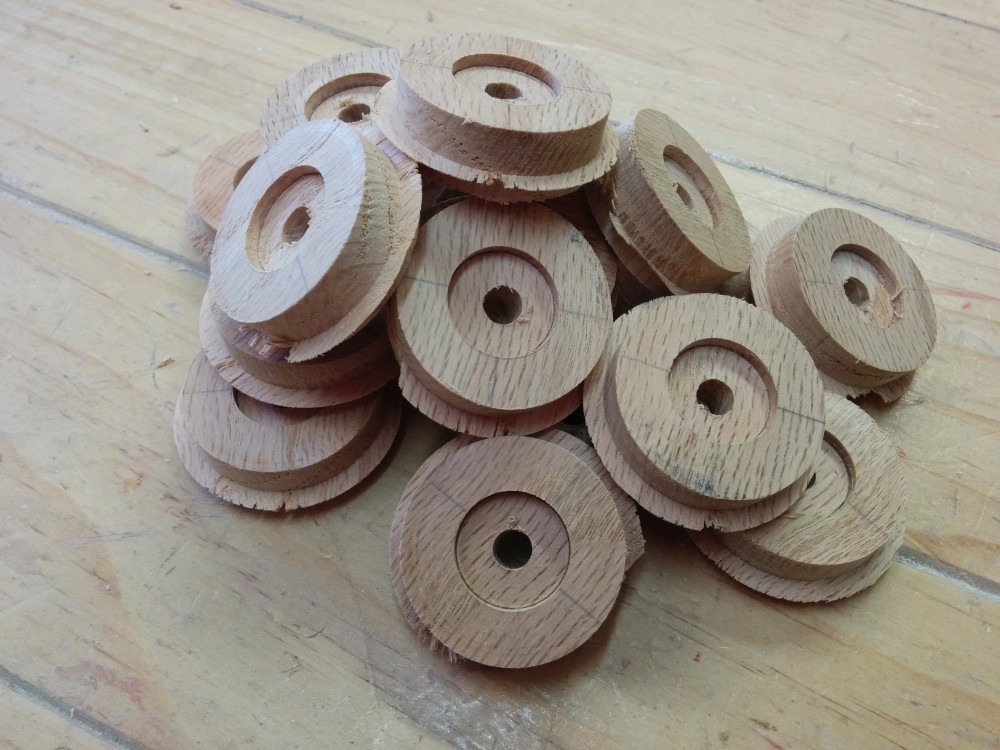
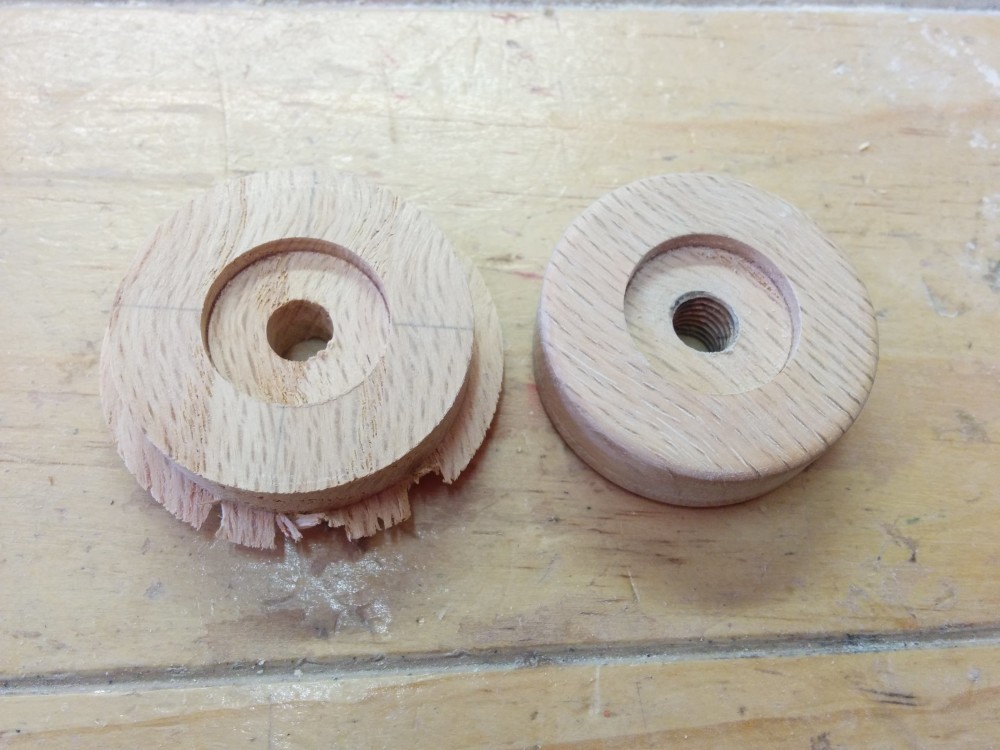
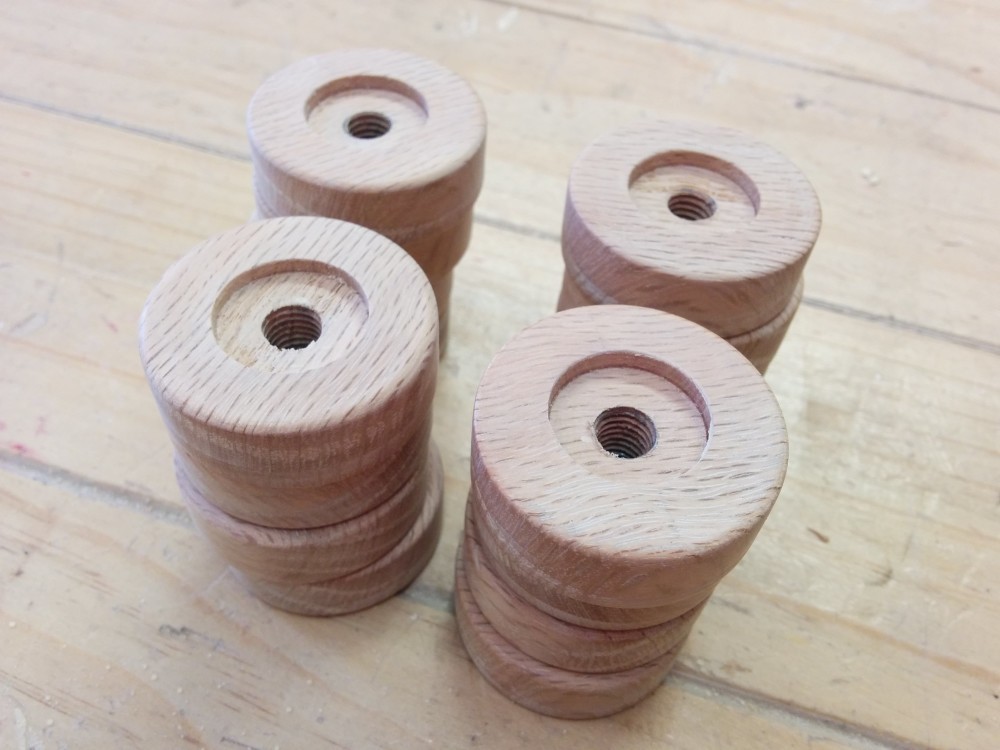
The next step was to make the wheels, all 32 of them. I decided to cut them using a hole saw which attached to the drill press, however I knew my cheap hole saw was not up to the task of cutting 32 wheels out of red oak, so I decided purchase a proper hole saw and I went with a 40mm hole saw by Sutton Tools. This worked flawlessly and cut the wheels in a few minutes.
The freshly cut wheels had very sharp edges and needed to be rounded over and smoothened with sandpaper, so I tapped each wheel with an 8mm thread and screwed them onto a bolt which I then could mount in the drill press and sand the wheels down that way. I don’t have a lathe so this was the quickest method I could come up with at the time, and it worked.
Now that I had all my wheels made, I could figure out exactly where to drill for the axles and then glue on the car’s sides.
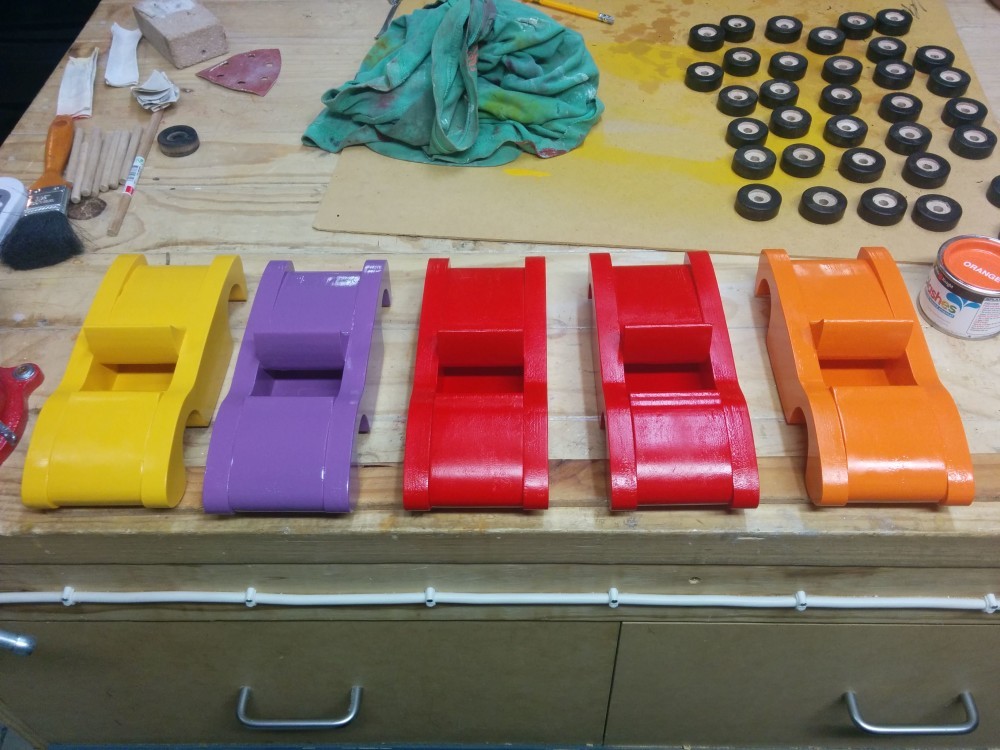
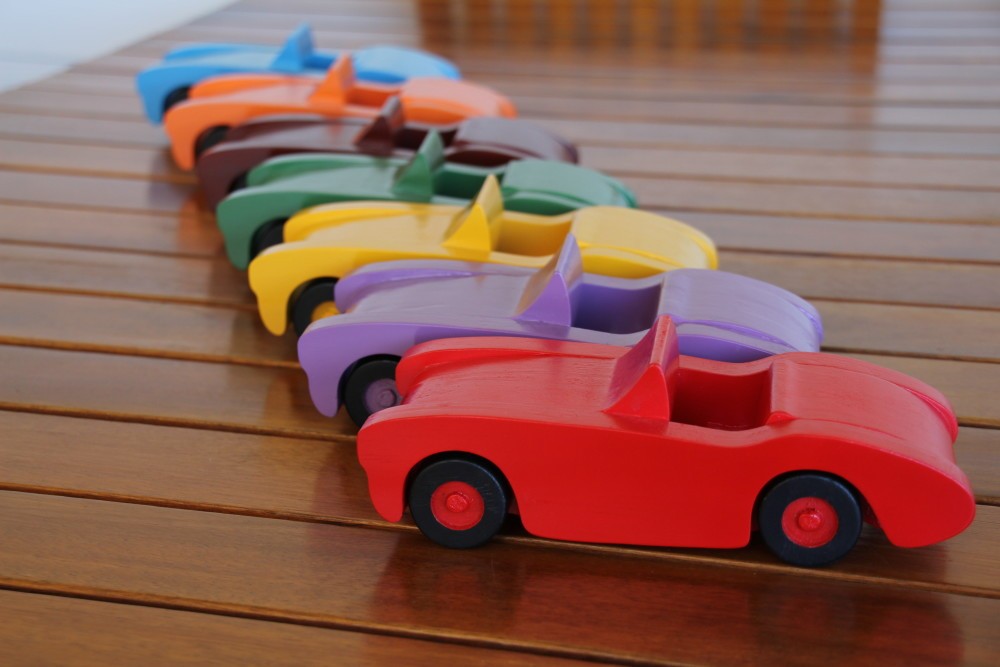
The next step was to paint the wooden toy cars. I decided to go with White Knight Splashes water based paints because when cured the paint is non-toxic and conforms to Australian Standard 1647.3 Children’s Toys Safety Requirements. I gave all the cars a coat of white primer and then proceeded with spray painting them all in different colours.
Once the paint dried I glued the wheels onto each car’s axle and they were done.
For more pictures of the finished cars check out the photo gallery.




Great David, just what I was need to do with my grandson during this Victorian lockdown.
Thank you.
Hi David. These look great. Remind me of my old MG. I would love to make one for my grandchild. Can you share your template?
Great & clear instruction. Thanks.
Russ
Didn’t explain how to do the recessed section in the center of the wheels or how to attach axles and wheels. Surely you don’t just “glue the wheels to each cars axle” like you said because then they wouldn’t turn.
Hi Russ, the centre of the wheels are drilled out with a forstner bit. So to make the wheel I first drill a shallow recess of about 2mm with the forstner bit and this creates the centre of the wheel. Then I use a hole saw to cut the wheel out making sure I place the drill bit of the hole saw in the divot left by the centre of the forstner bit, and that way I get the centre of the wheel aligned within the wheel once it’s cut out. Then the rest of the process is as explained in the article.
As for attaching the wheels to the axle, I do just glue them on. I make sure to only get glue on the axle and wheel and not touch the body of the car so the whole assembly can still spin. The wheels can turn but as a whole axle, so both sides spin together and not individually. For individual spinning wheels you’d need to glue a pin into the body of the car and the wheel is left unglued and can therefore spin on the pin. I used the solid axle approach because I didn’t have any wheel pins on hand at the time. Hope that clarifies things.
Is it possible to get the jig of the 2 pieces or the lenght of it
It’s vert Nice
Thank you
Wow, so interesting to see how these are made. Thanks for sharing.
Thanks for reading!
Hi David. I’m years behind your original post so hoping you’re still on line and receiving comments (?). I’ve made a few toy cars that don t look very car-like and really like your concept. Hope you don’t mind if I appropriate your design for my grandkids? This is my hobby, I’m not selling anything I make, just giving it to kids to enjoy.
Two questions:
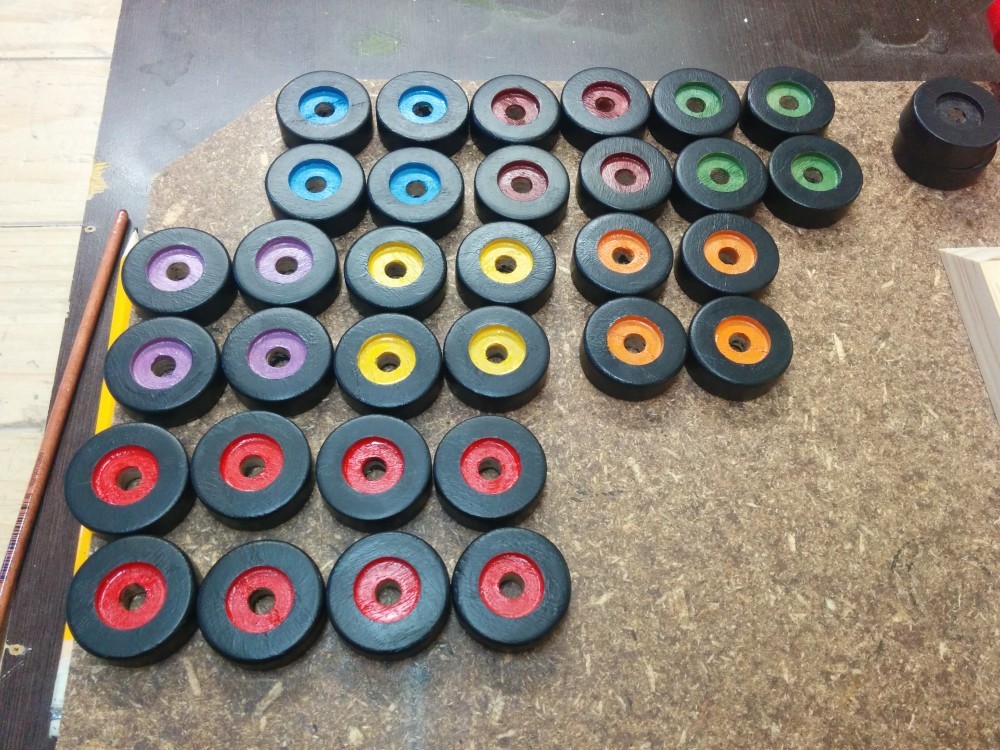
How did you paint the wheels to produce a black tyre and a coloured rim?
How did you finish the middle three pieces? If glued together and finished as one and they are 18mm thick that suggests you had a router bit approx 55mm long – I’ve never found any such thing?
Thanks. Jim
Hey Jim, regarding the tyres, they’re just painted black with the rim the colour of the car they were for – nothing special there 🙂
For the middle pieces, at first I attached each piece individually to my template and routed them out, then glued them together making sure to align things properly which was not easy. Then I sanded the whole block on my spindle sander. After doing that a few times I realised that it’s much easier to just rout one piece on the template and then sandwich that piece by a rough cut piece on each side and and use a flush trim bit on the block itself routing from each side so the bearing of the flush trim bit follows the middle piece which was cut on the template. It will still need some sanding but I found it worked better this way.
Thanks David. Good tip for the middle pieces. I can do that on my router table. I don’t have a spindle sander but thinking of getting one. As for the painting; yeah, dumb question, I use spray paints and didn’t think beyond that even though one of your pictures show a tin of normal paint 😳.